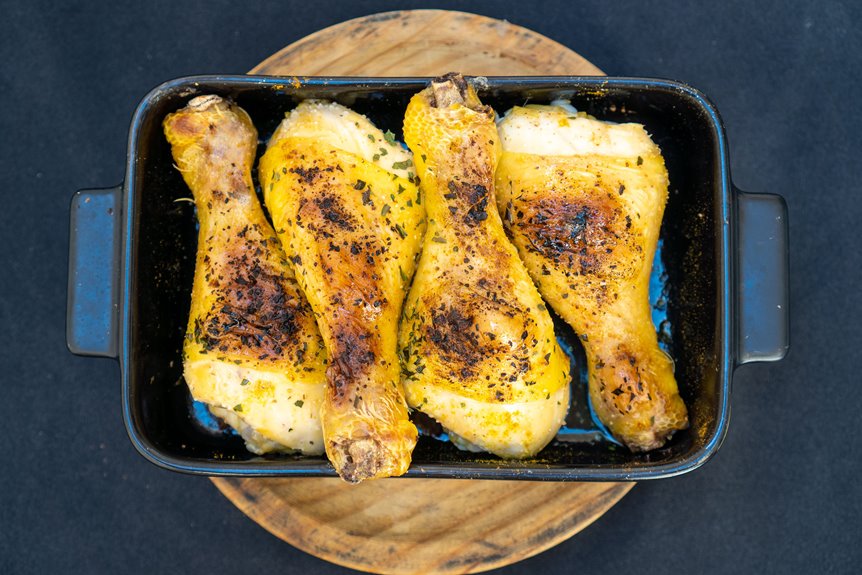
When you rub baking soda on chicken, you’re raising the surface pH and weakening the muscle proteins, which sounds odd but actually traps moisture inside. This creates that tender, velvety texture you’d get at a restaurant. The catch? You’ve got about 15–20 minutes before it tastes soapy, so timing matters. Rinse it thoroughly afterward, pat dry, and you’re set. The process works when you understand exactly how to nail each step.
What Baking Soda Does to Chicken at the Molecular Level
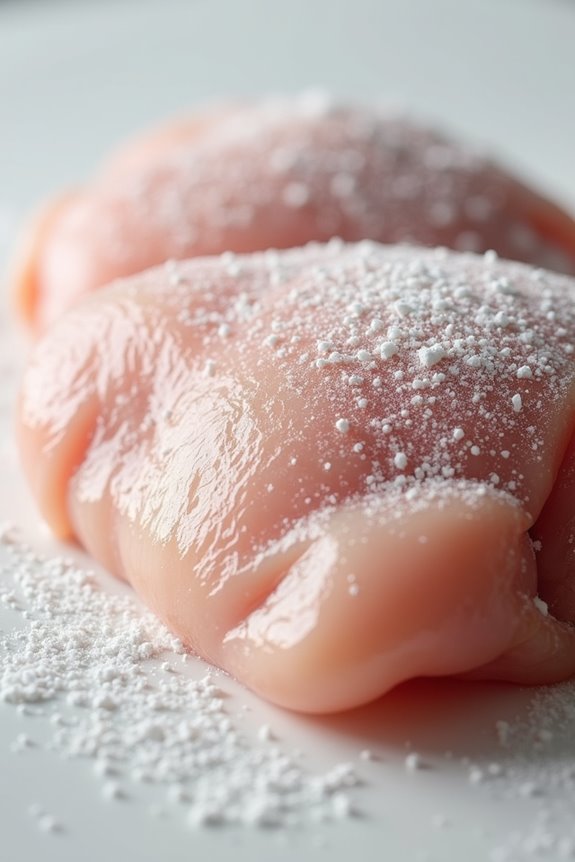
Ever wondered why your chicken sometimes turns out tough and dry, while other times it’s tender and moist? Here’s how it works: baking soda. When you rub it on chicken, something happens at the molecular level. The baking soda raises the surface pH, creating an alkaline environment that weakens myosin—those muscle proteins responsible for toughness. This change in protein interactions helps your chicken retain water better, making it juicier. Think of it like this: the alkaline coating loosens up the protein network just enough to trap moisture instead of squeezing it out. The best part? This transformation happens mainly on the surface, leaving the interior untouched. It’s a straightforward technique that changes your cooking results.
How Alkalinity Tenderizes Chicken and Retains Moisture
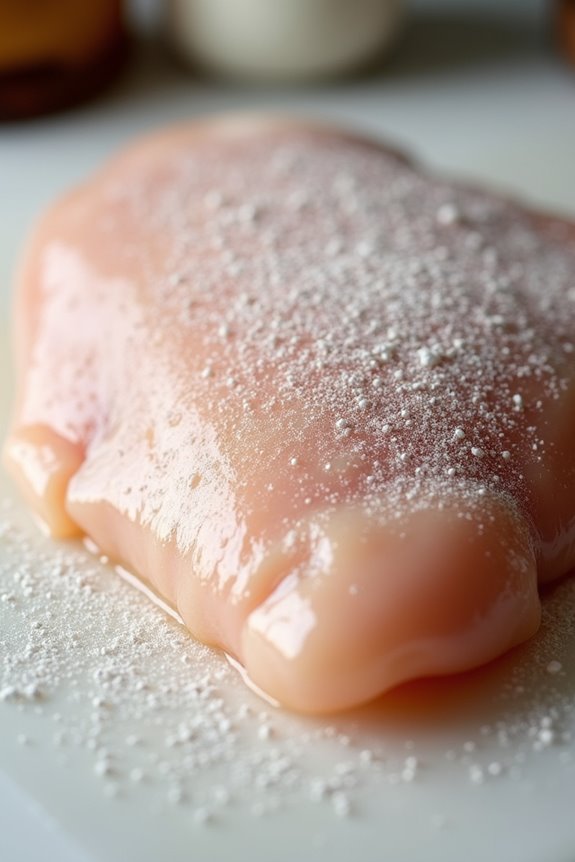
When you rub baking soda on chicken, you’re basically raising the pH around the meat, and that alkaline environment actually loosens up the protein strands so they can’t cling to each other as tightly. Here’s what happens: those relaxed proteins trap moisture way better during cooking, which means your chicken stays juicier instead of drying out in the pan or fryer. The key is timing it right—just 15 to 20 minutes does the trick—because staying in that alkaline bath too long can flip the whole thing and leave your chicken tasting soapy or bitter.
Alkalinity’s Tenderizing Mechanism
Why does baking soda actually make chicken more tender, anyway? When you apply baking soda to chicken, you’re raising the surface pH—basically making it more alkaline. This higher pH weakens the muscle proteins right at the surface, which is the key to everything that follows. Here’s where it gets interesting: that alkaline environment slows down protein cross-linking during cooking. Cross-linking is what makes meat tough and firm, so by slowing it down, you’re getting more tender, pliable meat. The real bonus? Your chicken retains more moisture because those weakened proteins hold water better. The alkaline tenderization process works best with brief contact time—we’re talking minutes, not hours—followed by proper rinsing. Get that timing right, and you’ll have juicy, tender chicken every time.
Moisture Retention Through pH
When you treat chicken with baking soda, you’re weakening the bonds between muscle fibers, letting them swell up with water. This swelling works to produce juicier meat. The higher pH creates a gel-like surface that loosens protein networks, so moisture doesn’t escape during cooking. Think of it like giving those muscle fibers permission to hold onto their water. Timing matters though—brief exposure locks in moisture, but overdoing it backfires. Get the balance right, and your chicken stays noticeably juicier through quick methods like stir-frying or blanching.
Protein Structure Breakdown Process
Baking soda fundamentally changes how chicken’s proteins behave. When you rub it on, the alkaline baking soda raises the pH on your chicken’s surface. This elevated pH weakens those myosin bonds—the muscle proteins holding everything together. Think of it like loosening a tight knot. As the pH climbs higher, your chicken’s proteins pick up more negative charges, which means they repel each other instead of clumping tight. That creates tiny spaces between fibers where moisture can settle in and stick around. Surface tenderizing through this process only takes 15–20 minutes, so you’re not completely denaturing the inside. You’re just giving the outer layer a head start before cooking.
Velveting With Baking Soda
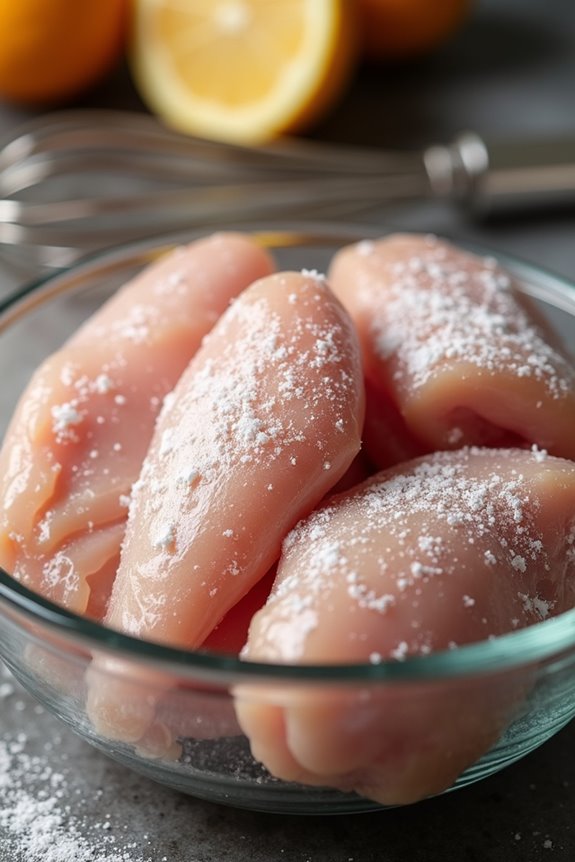
When you’re craving chicken that’s tender and juicy, velveting with baking soda is one of the easiest tricks you can use—and you probably already have the ingredient sitting in your kitchen cabinet.
Here’s what I do: I create an alkaline marinade by mixing baking soda with water, then soak my chicken for 15–20 minutes on the countertop. This chicken tenderizing method works because the baking soda raises the meat’s pH level, breaking down proteins and creating that silky texture.
| Step | Time | Result |
|---|---|---|
| Mix baking soda solution | 2 minutes | Alkaline bath ready |
| Soak chicken | 15–20 minutes | Proteins soften |
| Drain and dry | 5 minutes | Ready to cook |
After soaking, I drain everything thoroughly and lightly pat the chicken dry. This prevents that soapy taste you’d get from leftover baking soda residue. The result? Chicken so tender, you’ll want to use this method again.
How Long Should You Leave Baking Soda on Chicken?
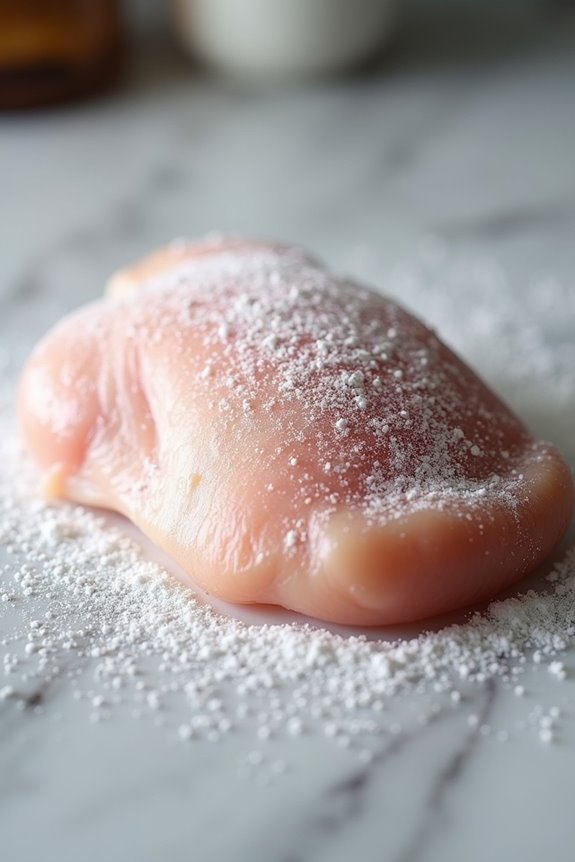
I’ve found that timing is everything when you’re using baking soda on chicken—you’ll want to stick to that 15–20 minute window, which gives you the tenderness boost without the weird soapy taste that creeps in if you leave it longer. Temperature matters too; I’ve noticed that warmer conditions can speed up the alkaline reaction, so if your kitchen’s hot, you might even go shorter than 20 minutes to be safe. Once you’re done soaking, rinse the chicken under cool water to wash away that alkaline residue before cooking, which keeps your final dish tasting like actual chicken and not a chemistry experiment.
Optimal Soaking Duration Guidelines
Since timing’s everything when you’re working with alkaline ingredients, you’ll want to nail the sweet spot between tender, velvety chicken and one that tastes like you’ve been chewing a soapstone.
I’ve found that 15–20 minutes is your goldilocks zone for soaking chicken in a baking soda solution. This baking soda soaking time creates that desirable texture without pushing things too far. If you’re dry-rubbing instead, keep it closer to 10–15 minutes to prevent off-flavors.
Here’s the important part: don’t exceed 20–30 minutes. Beyond that, you’re risking an alkaline taste and mushy texture that’ll ruin your dish. After soaking, drain thoroughly and gently squeeze out excess moisture. If any soapy flavor sneaks through, just rinse the chicken under cool water to remove residual baking soda.
Temperature Effects On Timing
Temperature’s your tool when you’re timing baking soda on chicken, and it’ll either speed up or slow down the whole tenderizing process. At room temperature—around 68 to 72 degrees Fahrenheit—that classic 15 to 20 minute window works perfectly for sodium bicarbonate to do its work. But here’s the thing: colder temperatures? They pump the brakes on chemical reactions, so you’ll need extra time for the same results. Heat does the opposite. If you’re working with a baking soda solution and things get warm, the alkaline effects kick into overdrive faster than you’d expect. That’s why I keep mine at room temperature and watch the clock carefully. Match your timing to your kitchen’s temperature, and you’ll get that tender texture consistently.
Rinsing Before Cooking Methods
How do you know when it’s time to rinse off that baking soda? I’ve learned that timing matters here. After your baking-soda rinse, you’ll want to drain the chicken thoroughly and squeeze out excess moisture gently. This step prevents that unwanted alkaline taste from hanging around.
I recommend rinsing when you’ve used a higher baking soda ratio or left it on longer than 15–20 minutes. Quick contact times? You might skip rinsing entirely. But here’s the thing: rinsing protects your velveting preparation from tasting soapy or bitter.
I drain the chicken in a colander, then pat it dry with paper towels. This removes residual alkaline flavoring while keeping the meat tender. Your final dish tastes better when you take this small extra step seriously.
Should You Wash Off Baking Soda Before or After Cooking?
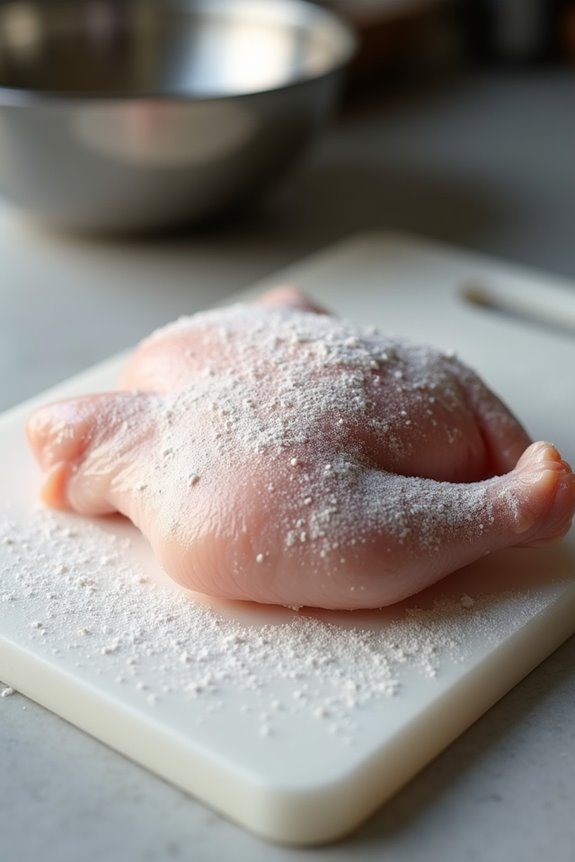
The timing of your rinse—or whether you rinse at all—affects how your chicken turns out. A baking-soda rinse before cooking prevents that unwanted alkaline taste that can linger on your palate. You’ll want to rinse after your velveting wash, especially if you’ve used a longer soak. Here’s the thing: that baking soda coating raises your chicken’s pH for browning, but leaving residue behind tastes soapy. Skip the rinse only when you’re using egg white or cornstarch methods instead—those coatings actually need to stay put.
| Method | Rinse? | Why |
|---|---|---|
| Baking soda | Yes | Removes alkaline taste |
| Egg white/cornstarch | No | Preserves coating |
| Oil-based velvet | No | Maintains texture |
Why Your Velvet Tastes Soapy (And How to Fix It)
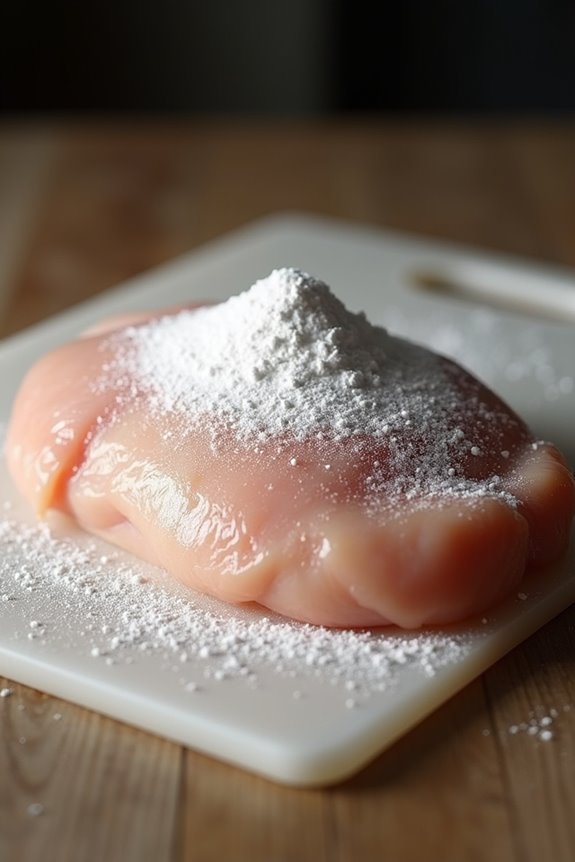
Ever bitten into chicken that tastes like you just licked a bar of soap?
That soapy taste comes from baking soda residue left on your velvet chicken. When alkaline solution stays on the meat too long, it creates that bitter, off-putting aftertaste that ruins your dish. I’ve learned the hard way that using too much baking soda or leaving it on longer than 15–20 minutes intensifies this problem.
Here’s what I do to fix it: rinse your chicken thoroughly after velveting with baking soda. This removes residual alkaline compounds before cooking. I also balance flavors with bold marinades and spices that mask any remaining soapiness. Keep contact time brief, measure carefully, and you’ll achieve that tender velvet texture without the unwanted soap flavor.
Baking Soda vs. Egg White and Cornstarch
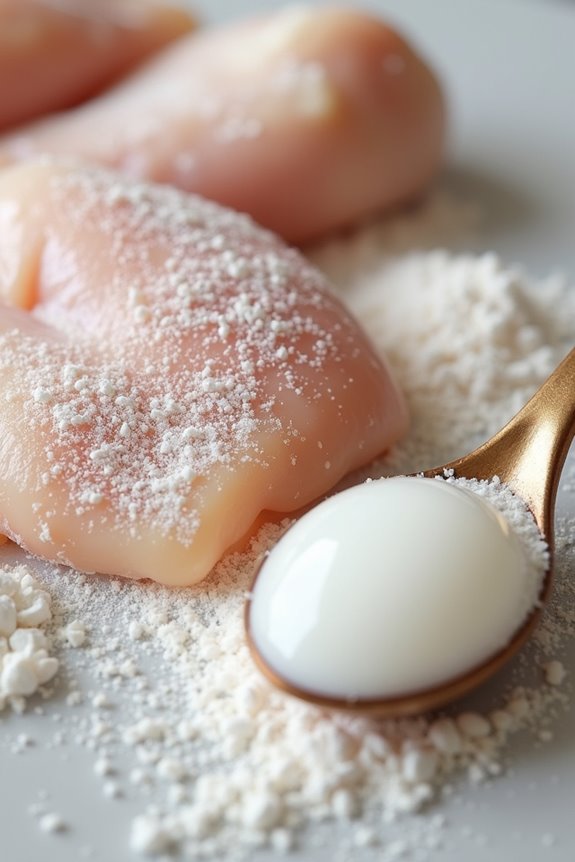
When I compare these two velveting methods, I’m really comparing two different philosophies: baking soda raises your chicken’s pH to break down proteins and create tenderness, but you’ve got to manage that alkaline bite carefully, whereas egg white and cornstarch work by coating your meat with a protective protein-starch shield that locks in moisture without any soapy aftertaste. The flavor difference matters—baking soda can taste harsh if you overdo the timing or skip the rinse, while cornstarch and egg white give you that silky texture cleanly, no rinsing required. So your choice really comes down to this: do you want maximum tenderness with a bit of chemical risk, or do you want reliable moisture retention with a delicate crust that won’t compromise the taste?
Alkalinity And Texture Results
Comparing baking soda to egg white and cornstarch velveting reveals two fundamentally different approaches to tenderizing chicken—one alkaline, one neutral. When you rub baking soda on chicken, you’re raising its surface pH, which weakens muscle proteins and creates a noticeably tender, looser bite. This alkalinity does the heavy lifting for you, but it comes with a trade-off: you’ll likely notice a soapy or metallic taste if you don’t rinse thoroughly. The egg white and cornstarch method takes the opposite route. It creates a protective protein-starch coating without any alkaline effect, sealing moisture inside while delivering that velvety texture. You’ll need minimal washing, and you’re getting tenderness through coating rather than chemical alteration. Both work—just differently.
Flavor Profile And Washing Methods
How do you actually want your chicken to taste when it hits the plate?
Here’s the thing: baking soda velveting creates an alkaline coating that can leave a faint soapy or bitter taste if you’re not careful. That’s why washing off residual alkalinity after velveting matters. I rinse mine thoroughly under cool water, rubbing gently to remove that coating completely. Egg white and cornstarch? No washing needed—they don’t impart any flavor.
Why this matters:
- Baking soda requires careful seasoning balance to avoid off-flavors
- Salt and acidic ingredients (like lemon juice) help counteract alkalinity
- Egg white and cornstarch tolerate bold spice blends naturally
- Your chicken stays pure-tasting with proper rinsing techniques
- You’ll know your seasoning is actually coming through
Choose based on your flavor goals, not just texture.
Fixing Soapy Flavor in Velveted Chicken
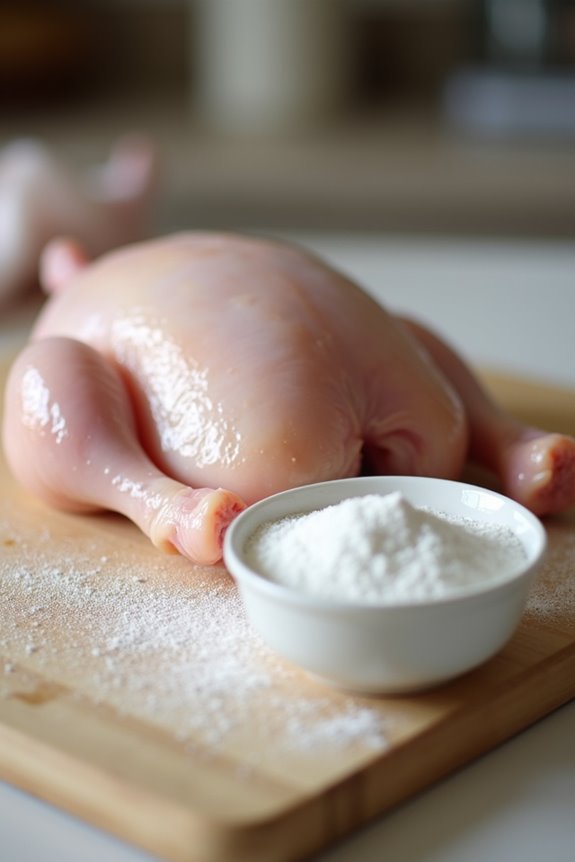
Ever bitten into what should’ve been tender, silky chicken only to get a weird soapy aftertaste?
If your velveting with baking soda went sideways, here’s how to fix it. First, thoroughly rinse the chicken under cool water, rubbing gently to remove excess residue. Pat it completely dry with paper towels. This alone tackles most soapy flavor issues.
Want extra insurance? Re-coat your chicken with a fresh velvet using cornstarch and egg white instead. This creates that silky texture you’re after without the alkaline bite. The cornstarch absorbs moisture while the egg white adds tenderness—no soap, just delicious results.
Test a small piece before cooking the whole batch. You’ll nail it next time, and that smooth, tender chicken will taste exactly how it should.
Seasoning to Balance Baking Soda
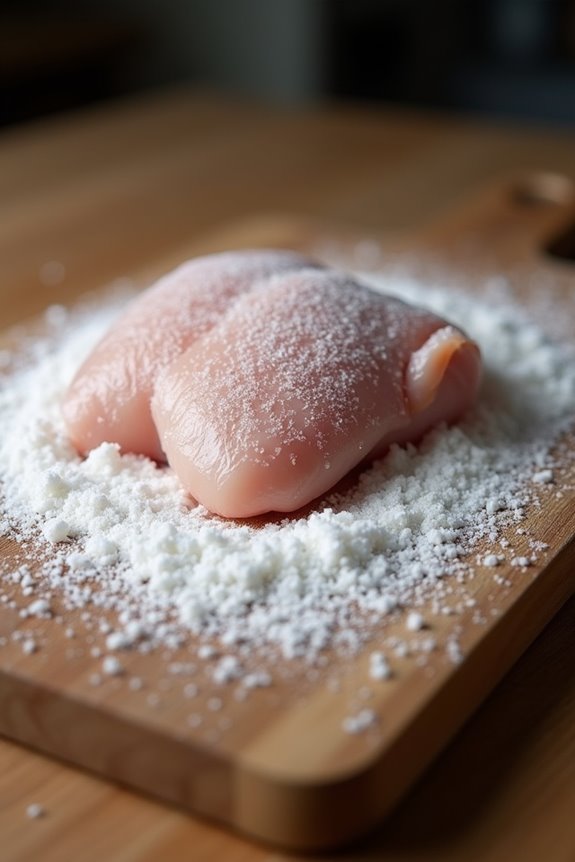
Now that you’ve addressed soapy chicken, let’s focus on prevention—it comes down to your seasonings.
Baking soda balance works best when paired with strong savory seasonings. Using just 1/4 to 1/2 teaspoon per pound of chicken, then adding soy sauce, ginger, garlic, or paprika masks that alkaline taste completely. Your marinating time matters too—stick to 15–20 minutes for textural benefits without overwhelming flavor.
Here’s what works:
- Soy sauce adds umami depth that neutralizes alkalinity
- Fresh ginger brings warmth and complexity
- Garlic creates savory richness
- Paprika adds color and mild sweetness
- A pinch of sugar or citrus juice balances everything
This approach keeps you in control while achieving that tender, juicy texture you’re after.
How Baking Soda Accelerates Browning
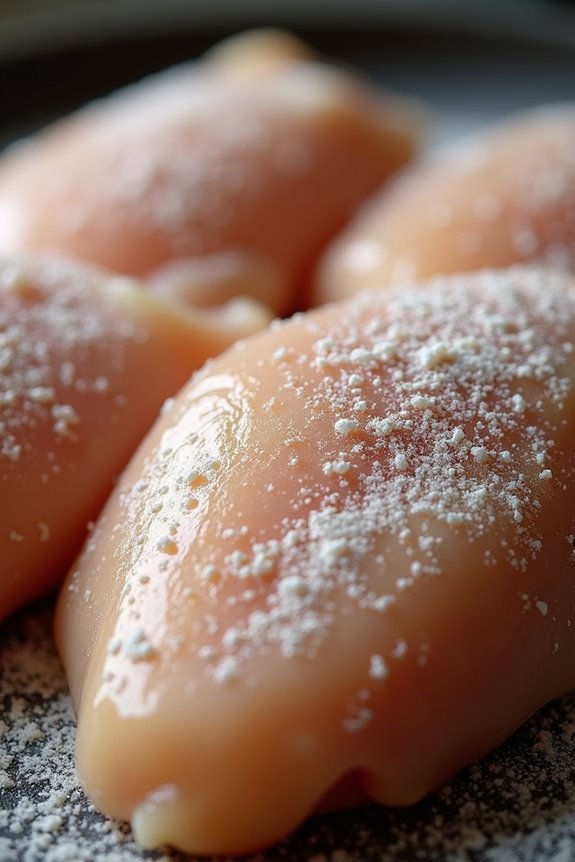
Want a golden-brown crust on your chicken in half the time? Baking soda raises the pH on your chicken’s surface, creating an alkaline environment that speeds up browning. This higher pH kickstarts the Maillard reaction—the chemical process between amino acids and sugars that creates browning and flavor. A thin coating gives your chicken a head start, weakening protein bonds so browning happens faster during frying or sautéing. You’ll notice deeper golden color developing quicker than usual. Just remember: a light hand matters. Too much baking soda or uneven application can cause overly rapid browning or leave a dull, soapy taste lingering on your chicken. Balance is everything.
Best Cooking Methods After Velveting
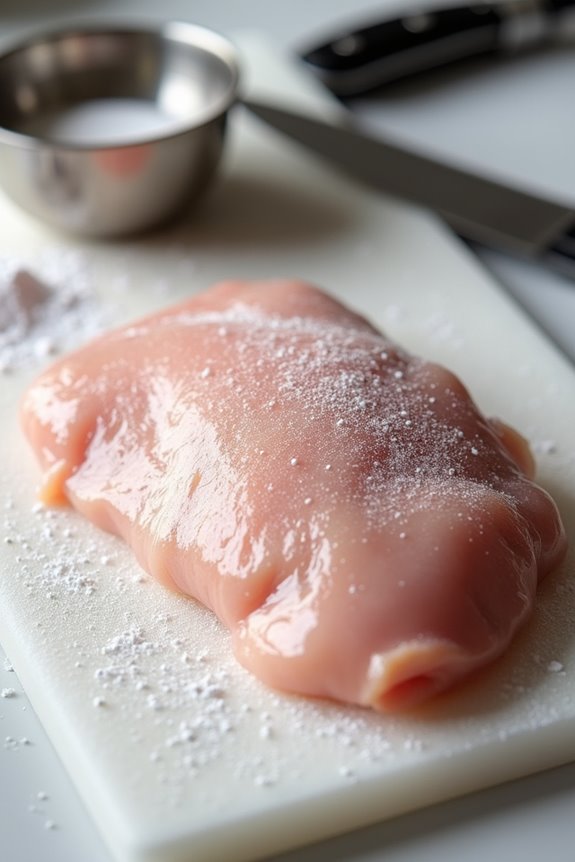
Once you’ve coated your chicken in that baking soda mixture and let it sit for 15–20 minutes, you’ve got choices for what comes next—and they’re not all created equal. I’ve found that baking soda velveting works best with specific cooking methods that lock in moisture and maintain that tender texture you’re after.
Here’s what actually works:
- Blanching first sets the coating and seals in juices before final cooking
- Stir-frying creates beautiful browning while keeping meat juicy inside
- Deep-frying gives you that crispy exterior
- Quick pan-searing works when you’re short on time
- Steaming briefly then finishing hot preserves texture balance
Before cooking, rinse off excess baking soda to prevent soapy flavors. This texture balance matters—it’s the difference between tender chicken and mushy disappointment. Pick your method based on your recipe’s demands.
How Much Baking Soda Is Safe to Use on Chicken?
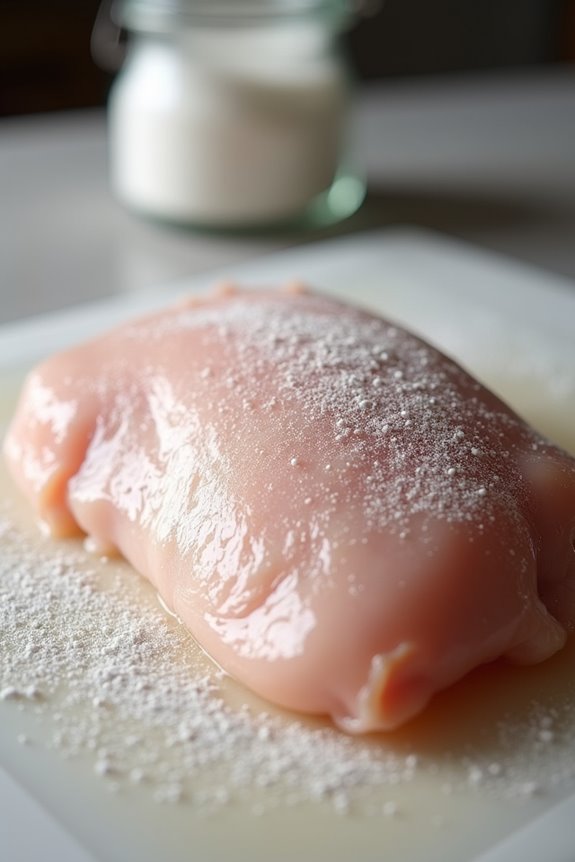
How Much Baking Soda Is Safe to Use on Chicken?
Getting the baking soda amount right is where a lot of people mess up—and I’ve definitely been there. The safe baking soda concentration is 1 to 2 teaspoons per pound of chicken. When you’re using a liquid soaking solution, mix 1 to 2 teaspoons into 1 cup of water and soak for 15–20 minutes. That’s your sweet spot for soaking time.
Why does this matter? Excess baking soda leaves a bitter, soapy taste that’ll ruin your dish. I learned this the hard way. After you soak, you’ll need thorough flavor neutralization through rinsing or pat drying. Some people skip this step and regret it immediately. Stick to these measurements, rinse properly, and you’ll get tender, delicious chicken without any off-flavors that make you wonder what went wrong.