
The ten hardest desserts I’ve botched all share one thing: they demand obsessive precision. Macarons need exactly 15–20 folds, no more or less. Croissants require butter at 65–68°F between rests. Lapis Legit takes two hours with one-minute timing windows per layer. Éclairs, chocolate soufflés, and baked Alaska have razor-thin bake windows. Opera cakes and wedding cakes need freezing between every step. Pain au chocolat stretches across three days of temperature control. Each mistake cascades fast—one wrong fold, one warm degree, one impatient minute ruins everything. But I’ve cracked the code for all of them.
Macarons: Why the Folding Problem Ruins Most Home Batches
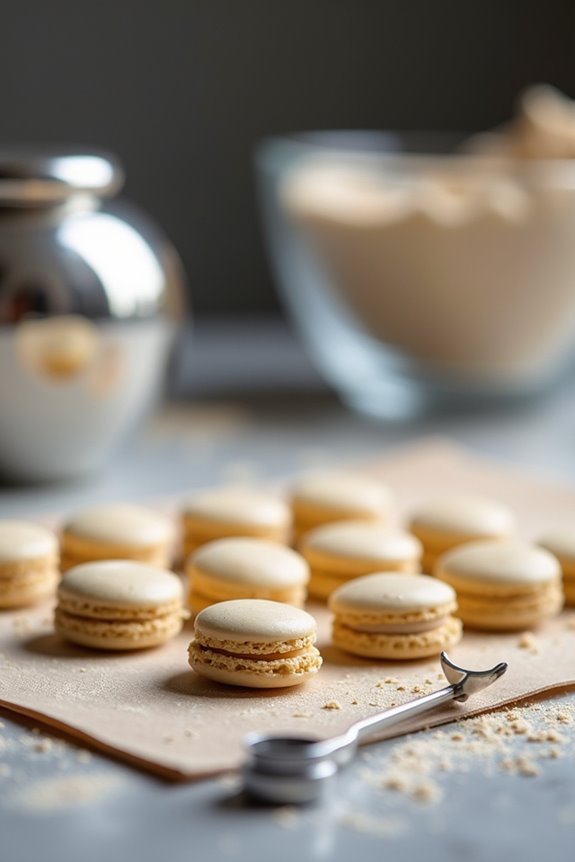
Why do so many homemade macarons turn out hollow, cracked, or spread into thin pancakes? The culprit’s usually the folding technique. I’ve learned that macarons demand a delicate balance—you’re mixing a lava-like batter made from meringue and sifted almond flour with confectioners’ sugar. Fold too gently, and you’ll end up with undermixed batter that creates hollow shells and cracks during baking. Fold too aggressively, though, and you’ll overwork the meringue, producing thin, flat cookies that spread everywhere. The right approach involves gentle, deliberate strokes that combine ingredients without deflating your meringue. I count roughly fifteen to twenty folds, checking consistency between each one. Get this right, and you’re halfway to macaron success.
Croissants: Laminating Butter Without Leakage or Collapse
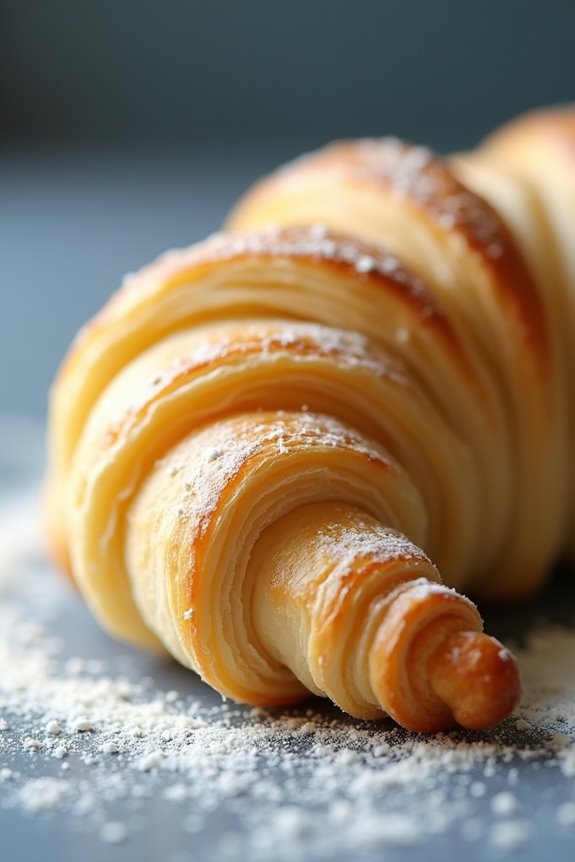
I’ve learned the hard way that croissant success hinges on two things working together: keeping your butter at exactly the right temperature—cold enough to hold its shape but soft enough to fold without cracking—and timing your rests so the dough relaxes between folds, usually about an hour each time. When your butter’s too warm, it’ll smear into the dough and you’ll lose those crispy layers; too cold, and you’ll tear everything apart trying to roll it out. Get these two pieces right, and you’re halfway to croissants that don’t leak butter all over your oven or collapse into dense, greasy discs.
Butter Temperature Management
How’d you like to pull a batch of croissants from the oven only to find butter pooling on your baking sheet?
That’s what happens when you skip butter temperature management. I’ve learned this the hard way. Your butter needs to match your dough’s consistency—around 65-68°F is the right target. If it’s too warm, it’ll squish into the dough, creating a greasy mess. Too cold, and you’ll wrestle with rolling, cracking your layers apart.
I keep my butter in the fridge, then let it sit out briefly before laminating. Test it: your thumb should leave a slight indent without sinking through. This balance keeps your folds even, your layers intact, and your croissants golden, not greasy. Temperature control here separates good results from failed batches.
Fold Timing and Resting Periods
Once your butter’s at that proper consistency, you’re ready to fold—but here’s where patience becomes your trusted tool. I’ve learned that resting periods between folds aren’t optional; they’re necessary. After each fold, I let my dough rest for about an hour. This resting period allows the gluten to relax and prevents the butter from breaking through the layers.
Here’s what I focus on during this stage:
- Keep dough temperature between 65-70°F to prevent butter from softening too much
- Cover your dough with plastic wrap so it doesn’t dry out during the resting period
- Watch for butter seams—they’ll telegraph whether you’ve rested long enough
Rush this process, and your croissants collapse. Give it proper time, though, and you’ll achieve those flaky layers you’re working toward.
Lapis Legit: Baking a Hundred-Layer Cake, One Layer at a Time
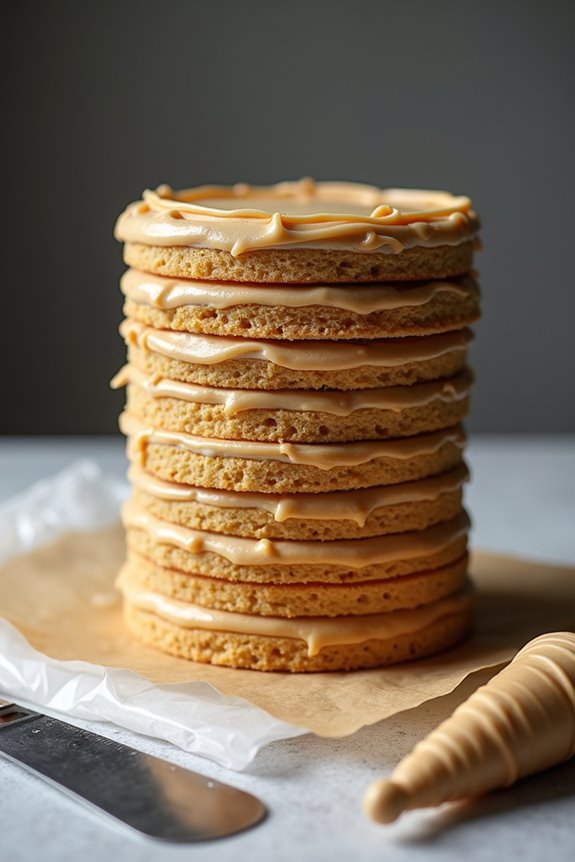
When you’re building a hundred-layer cake, you’re really juggling three big challenges: nailing the timing and precision of each layer, keeping your oven temperature rock-solid throughout that 1-2 hour bake, and making sure every single layer lines up perfectly so your cake doesn’t lean like the Tower of Pisa. I’ll walk you through how to manage each of these so your Lapis Legit actually stands tall and proud instead of toppling over. The good news is that once you understand the rhythm, you’ll realize it’s less about being a master baker and more about patience and paying attention to the small details that really matter.
Layering Precision And Timing
Why does lapis legit demand so much patience? The answer lies in layering precision and timing. You’re basically racing against your oven’s mood while keeping dozens of thin layers perfectly aligned. Here’s what makes it brutally challenging:
- Each layer must bake to golden brown before you add the next, creating a one-to-two-hour total commitment with zero shortcuts.
- You’ve got roughly one minute per layer to spread batter and position it correctly, or everything shifts out of alignment.
- Consistent oven performance matters tremendously—hot spots or temperature fluctuations ruin your entire cake’s structure.
The real test? Maintaining uniformity across all those layers. One misaligned batter spread, one delayed bake cycle, and your signature dense texture falls apart. It’s less baking, more precision engineering with butter and eggs.
Temperature Management During Baking
How’s your oven behaving today? That’s the make-or-break question for lapis legit. Temperature control isn’t just important—it’s everything. You’ll need to keep your oven steady at around 350°F throughout your entire baking marathon. Even a 10-degree fluctuation can sabotage your layers, causing uneven browning or weak adhesion between them.
I recommend using an oven thermometer, not trusting your dial. Check it before each layer. Watch for golden-brown edges, which tell you when each layer’s ready—usually 3-4 minutes. You’re building something noteworthy here, one carefully monitored layer at a time. This precision separates successful cakes from frustrating failures. Your patience with temperature control transforms dozens of thin batters into that beautiful striped masterpiece.
Structural Alignment And Consistency
Once you’ve nailed your temperature control, the real challenge emerges: keeping all those delicate layers perfectly stacked and aligned. You’re working against time and gravity here, so layering stability becomes your obsession.
Here’s what I’ve learned works:
- Complete each layer’s firm set within one minute – Speed matters because cooling layers support the next addition without shifting
- Check alignment visually from multiple angles – Spot drift early before it compounds across 100+ layers
- Maintain consistent spacing between baking intervals – Rushing or waiting too long disrupts your workflow rhythm
The reality? One misaligned layer throws everything off balance. I’ve watched beautiful cakes collapse mid-bake because I got sloppy with positioning. Your disciplined workflow prevents uneven crumb and structural failure. Stay focused, move intentionally, and you’ll join the ranks of bakers who’ve mastered this technique.
Éclairs: Double-Baking Choux Dough for Perfect Hollow Puff
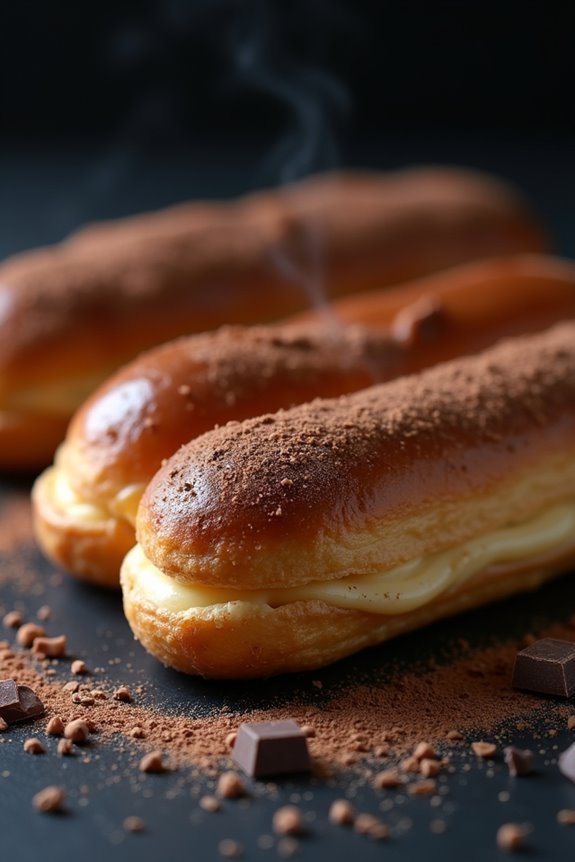
What makes éclairs so light and crispy on the outside yet perfectly hollow inside? It’s all about mastering pâte à choux—the dough that requires precise balance. You’ll cook it twice: first on the stovetop to set the starches, then in the oven to achieve that signature puff. The key is in the water-to-egg ratio. Get it wrong, and you’ll end up with dense, flat pastries instead of airy ones. Don’t overwork the dough or add too much liquid—either mistake prevents proper rise. Once baked, inject fresh fillings just before serving to keep shells crispy. The two-stage process sounds intimidating, but it’s worth mastering. You’re creating something truly impressive here.
Chocolate Soufflé: Walking the Line Between Rise and Collapse
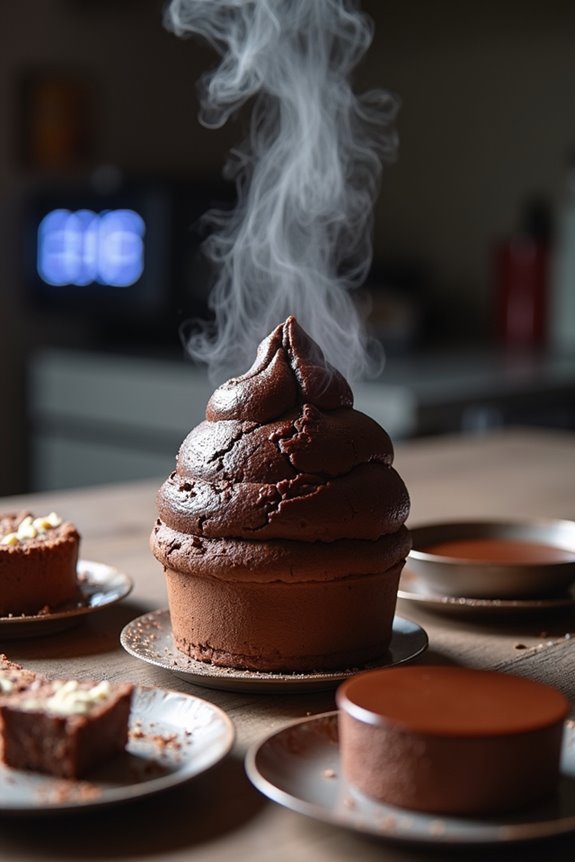
I’ll be honest—a chocolate soufflé’s success hinges on three things you’ve got to nail: separating those egg whites with zero yolk contamination, whisking them to stiff peaks without overdoing it, and nailing that narrow bake window where it rises fully but the center stays creamy. You’re creating a stable, aerated meringue that traps steam, so one speck of yolk or five minutes too long in the oven and you’ve got a collapsed mess on your hands. Get these three elements right, and you’ll pull off what seems impossible—a dramatic, puffy chocolate cloud that looks elegant and tastes luxurious.
Egg White Separation Precision
- Use room-temperature eggs, which separate easier and whip to greater volume than cold ones
- Check for any yolk contamination, since even a tiny bit of fat prevents proper meringue formation
- Separate eggs into two bowls first, transferring whites to your mixing bowl only when you’re certain they’re pure
One speck of yolk ruins everything. The whites won’t stabilize properly, and your soufflé won’t rise. When you’re careful and methodical here, everything else falls into place. This precision foundation determines whether you’re celebrating success or scraping disappointment off your oven floor.
Whisking and Aeration Mastery
Now that you’ve got perfectly clean egg whites sitting in your mixing bowl, the whisking process begins—and it’s all in your wrist. I’m talking about whisking those egg whites into stiff peaks—the foundation of your soufflé’s rise.
Here’s what I’ve learned: timing matters enormously. Start slow, then build speed. You’ll watch the whites transform from clear liquid to foamy, then to soft peaks, finally reaching stiff peaks where they stand at attention.
| Stage | Time | What You’re Aiming For |
|---|---|---|
| Foamy | 2-3 min | Bubbles throughout |
| Soft peaks | 4-5 min | Peaks that curl over |
| Stiff peaks | 6-8 min | Peaks that stand straight |
Don’t overwhip—I’ve done it. Over-whisked egg whites become grainy, and your soufflé deflates faster than expected. Proper technique takes practice.
Bake Timing and Temperature Control
Once your batter’s in the ramekin, you’ve entered the most nail-biting phase of soufflé-making. Here’s where precision becomes your best friend. Your oven temperature must hit 375°F exactly—use an oven thermometer if you’ve got one, because most ovens lie. Even heat distribution matters tremendously; place your ramekin in the center rack for consistent rising.
Watch for these critical markers:
- Check at 12 minutes by gently opening the oven door—the top should look set while the center jiggles slightly
- Listen for quiet crackling around the edges, signaling proper egg white coagulation
- Note the exact moment it peaks, then you’ve got maybe 30 seconds before collapse begins
Serve immediately. Your soufflé won’t wait, and honestly, neither should you.
Croquembouche: Stacking Cream Puffs Into a Stable Caramel Tower
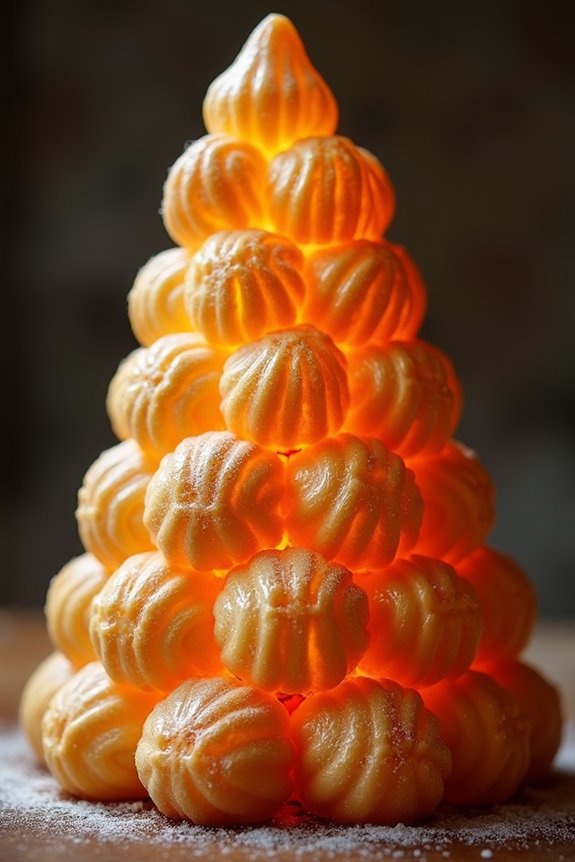
Building a croquembouche—that impressive tower of cream puffs glued together with caramel—sounds fancier than it actually is, but I won’t sugarcoat it: this dessert has more failure points than most home projects you’ll tackle. You’ll need perfectly uniform puffs, which means nailing your choux pastry consistency. Even one collapsed dome or uneven rise throws off your entire structure. Then comes the caramel dipping and stacking—each puff gets dunked, positioned, and held in place while the sugar hardens. One wrong move? Your tower wobbles or topples. Add sugar threads for decoration, and you’re risking burns while racing against caramel that hardens fast. Transport it home carefully; any jostling undoes your precision work instantly.
Baked Alaska: Torching Meringue Peaks Without Melting the Ice Cream
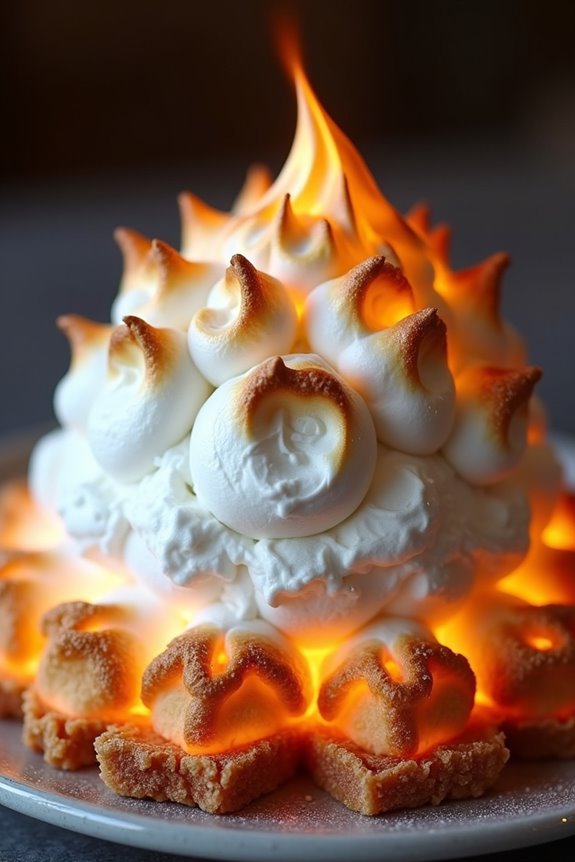
If the croquembouche’s wobbling tower makes you nervous, Baked Alaska might feel like a breeze of fresh air—until you realize you’re basically trying to torch ice cream without turning it into soup.
Here’s what makes Baked Alaska tricky:
- Temperature control matters enormously: Your ice cream needs overnight freezing to stay moldable yet firm before assembly, then careful handling to prevent softening.
- Swiss meringue stabilization works best: This reinforced meringue maintains structure during torching better than regular versions, keeping everything intact.
- Speed and precision during torching: You’ve got seconds to brown the meringue evenly before heat penetrates to your frozen center.
The real challenge? Executing that perfect torch moment. You’ll brown the peaks beautifully while protecting what’s underneath—that’s what separates mediocre from excellent Baked Alaska.
Opera Cake: Freezing and Stacking Six Precise Layers
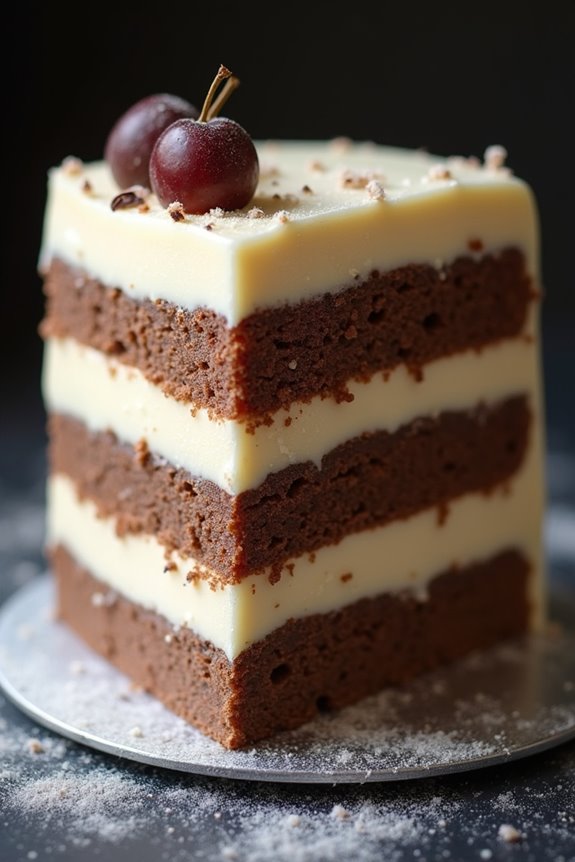
Opera cake’s six-layer structure sounds intimidating, but here’s the truth: it’s less about fancy technique and more about patience and freezing at the right moments. You’ll stack almond sponge, espresso syrup, buttercream, cake again, more syrup, and finally chocolate ganache. The freezing between layers keeps everything from smearing when you stack. Each layer needs precise thickness; any deviation throws off your final slices. That mirror glaze demands care and steady hands. The real challenge? Balancing intense coffee flavor against rich chocolate without one overpowering the delicate almond sponge. Get that balance right, and you’re creating something worthwhile.
Why Wedding Cakes Demand More Structural Skill Than Other Tiered Cakes
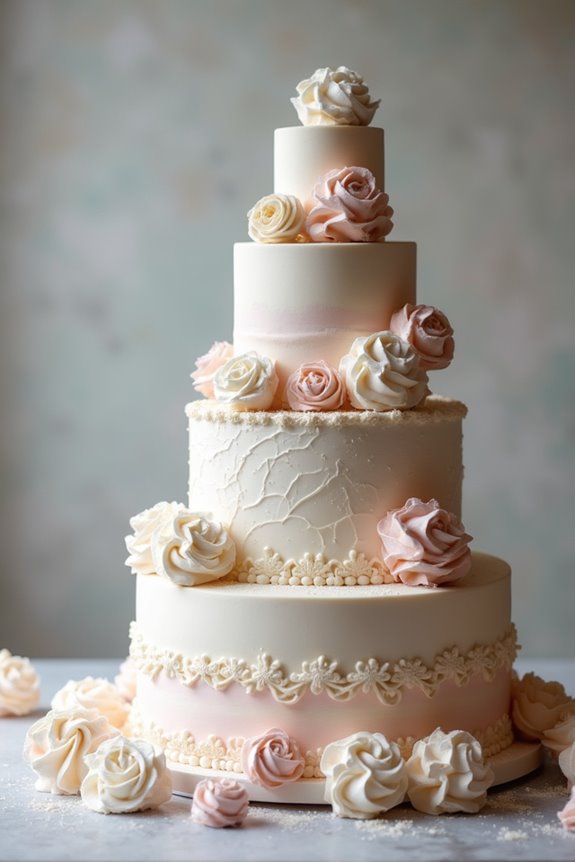
While opera cake tests your patience with its layering precision, wedding cakes demand something entirely different—they test your understanding of engineering.
You’re not just baking anymore. You’re building. A three-tier wedding cake requires structural integrity that opera cake never needs. Here’s why wedding cakes are fundamentally harder:
- Weight distribution and dowel placement — You must calculate exact dowel positions to support upper tiers without crushing layers below, preventing collapse during transport and display.
- Multi-component timing — Ganaches, fillings, and decorations have conflicting storage needs, forcing you to coordinate bake times across two to three days while maintaining cake freshness.
- Assembly precision — Stacking requires perfectly level surfaces and aligned layers, or everything shifts sideways, cracking under its own weight.
You’re managing variables opera cake never introduces. That’s what makes wedding cakes genuinely demanding.
Pain Au Chocolat: Managing Laminated Dough Across Three Days
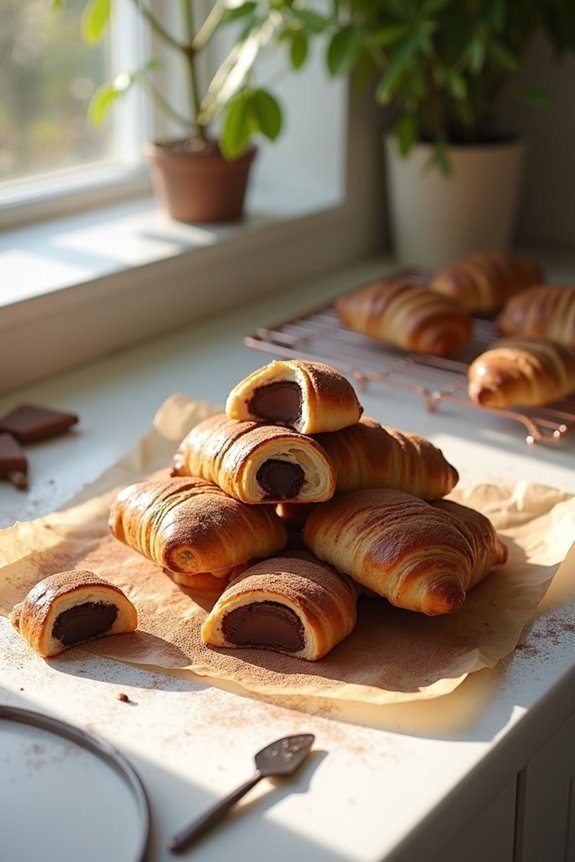
Patience—that’s what separates a successful pain au chocolat from a greasy, collapsed disaster. I’ve learned this the hard way. You’re managing lamination across three days, juggling temperature control like a pro baker. Here’s what I’ve discovered works:
| Day | Task | Temperature |
|---|---|---|
| 1 | Mix dough, chill | 75°F |
| 2 | First folds, rest | 65-68°F |
| 3 | Final folds, proof | 70°F |
| 4 | Shape, chill | 50°F |
| 5 | Bake | 400°F |
Your butter can’t be too soft or too firm—it’ll rupture the dough either way. Cold fingers help. I keep mine in ice water between folds. That consistent temperature prevents butter leakage and uneven rising. When you finally bake these golden rectangles, you’ll understand why we’re all devoted to this laminated pastry.