
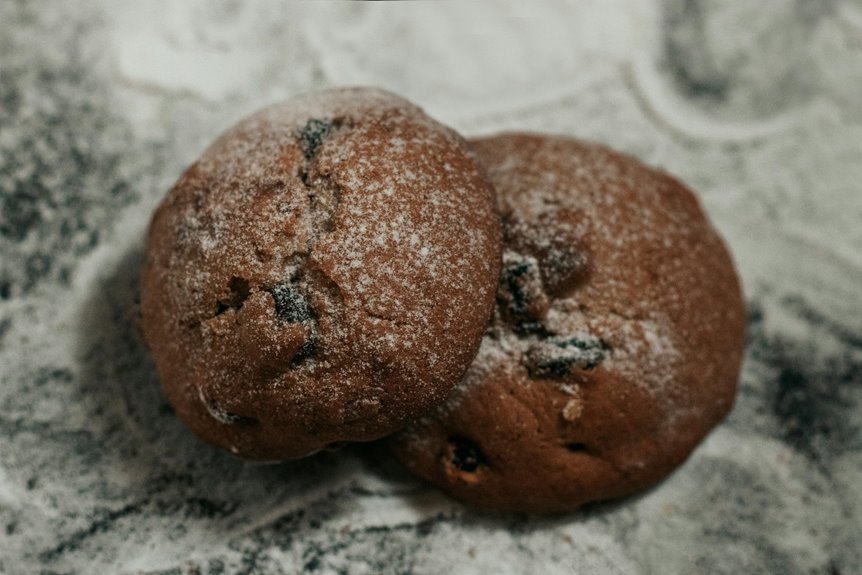
You don’t need baking powder—I promise. Creaming butter and sugar together for 2–3 minutes traps tiny air pockets that help cookies rise. Then eggs add lift and moisture, binding everything together. Mix in your flour gently, chill the dough for an hour, and bake at 350°F for 10–12 minutes. You’ll get crispy edges with a chewy center. The technique itself does the work, not leavening, and there’s plenty more to discover about getting it just right.
Do You Really Need Baking Powder?
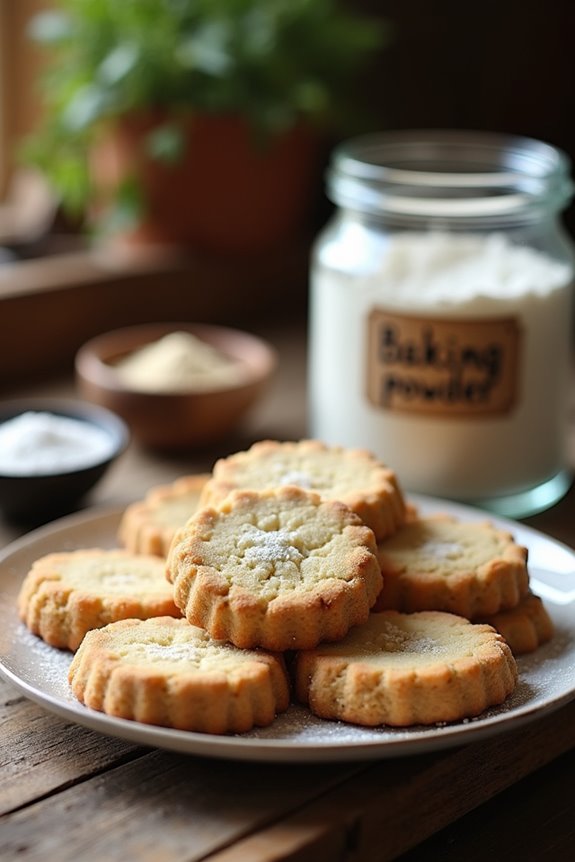
you don’t. I’ve discovered that baking powder isn’t essential for making cookies without baking powder. When I’m creaming butter and sugar together, I’m actually trapping air that helps cookies rise. Then my eggs add lift and moisture, while flour provides structure without leavening.
The real benefit? Creaming butter and sugar creates enough lift on its own. You won’t need a baking powder substitute if you use proper technique. Chilling dough is important—it keeps cookies from spreading too thin while baking.
The eggs and flour role is simple but effective: they build structure that holds everything together. Your cookies will be flatter with crisper edges and chewy centers, which is exactly what I want.
How Creaming and Eggs Replace Baking Powder
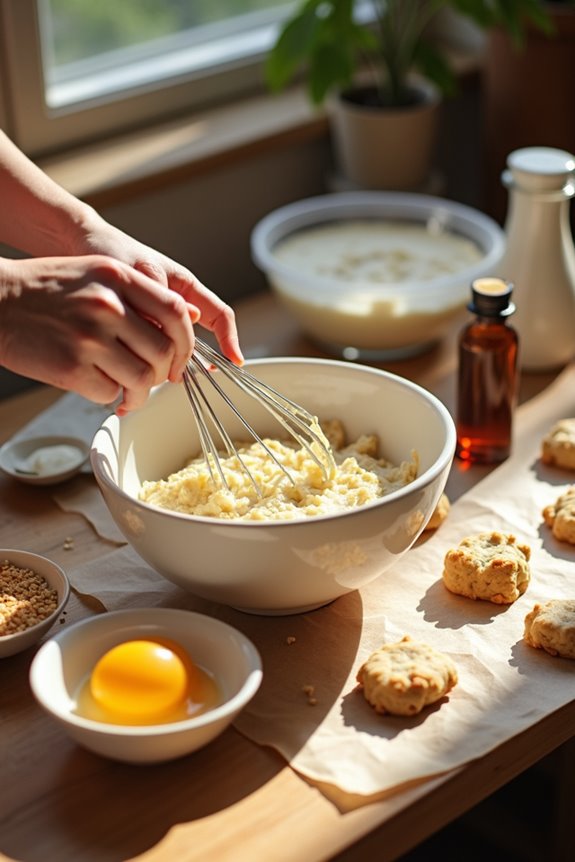
When you cream softened butter and sugar together, you’re trapping tiny air bubbles that help your cookies rise. Eggs provide structure and moisture that keeps everything stable, while the creamed butter-sugar base gives you that tender crumb with a chewy center and crisp edges you’d normally expect from leavening agents. The key is adding your dry ingredients gently after creaming (not before), which prevents overmixing and helps preserve all that lift you’ve worked to build.
The Power of Creaming Butter
Creaming butter and sugar together is one of baking’s best techniques—it’s how we’ll get lift and structure into our cookies without relying on baking powder or baking soda. When you beat softened butter and sugar, you’re trapping tiny air pockets throughout the mixture. These pockets become the foundation for our chewy cookies’ rise. The creaming process takes about 2–3 minutes. You’ll know it’s ready when butter and sugars transform from dense and yellow to pale and fluffy. This aeration partially replaces what leaveners normally do. Add eggs next—they’ll contribute moisture and bind everything together, giving your cookies stability during baking. It’s straightforward, and watching this process happen in your mixer is quite satisfying.
Eggs as Natural Leavening Agents
How do eggs pull their weight in a leavener-free cookie? They’re effective. When you cream butter and sugar together, you’re trapping tiny air pockets. Then eggs arrive to bind everything and amplify that lift. As you mix, eggs emulsify fats and proteins, trapping even more air throughout your cookie dough structure.
This matters because without baking powder, you’re relying entirely on this natural process. The eggs provide both structure and moisture, creating a chewy interior. During baking, the center hits 165°F for food safety while edges crisp up nicely.
The result? You’ll get flatter cookies than traditional recipes. But they’re chewy with satisfying crispy edges—proof that the creaming method and eggs as natural leavening agents work. No baking powder required.
Achieving Proper Cookie Texture
The foundation of chewy, structurally sound cookies without leaveners rests on understanding how three simple techniques work together: creaming, egg incorporation, and careful mixing. Achieving proper texture requires attention to detail at every step.
- Cream butter and sugar until light and fluffy, creating tiny air pockets that help your cookies rise
- Mix in eggs gently to add moisture and lift without overworking the dough
- Balance your flour-fat ratio carefully—too much flour makes dense cookies, too little causes excessive spreading
- Chill your dough to solidify fats, then bake at 350°F for 8–12 minutes until edges turn golden
This combination gives you golden edges with a chewy center. The flour-fat ratio and gentle mixing prevent spreading while chilling dough allows for even rise. You’re building structure without relying on chemical leaveners.
Why You Don’t Need Baking Soda or Powder
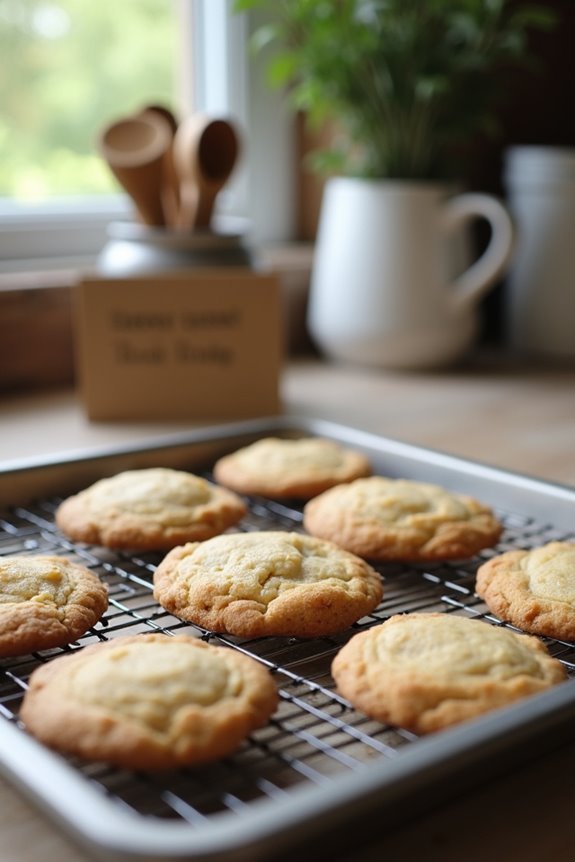
Ever wondered why some of the best sugar cookies skip the leavening agents entirely? You don’t actually need baking powder or baking soda for excellent results. When you cream butter and sugar together, then add eggs and vanilla, the mixture naturally incorporates air. This creates enough lift without traditional leavening agents. The key happens when you rest your dough—chilling it for an hour or overnight helps prevent spreading and maintains even thickness. Before rolling, give it another 5–10 minutes at room temperature. The result? Crispy edges with soft, chewy centers. By skipping baking powder alternatives, you achieve a superior texture that will change how you think about cookie baking.
Two Methods: Drop Cookies vs. Rolled Cookies
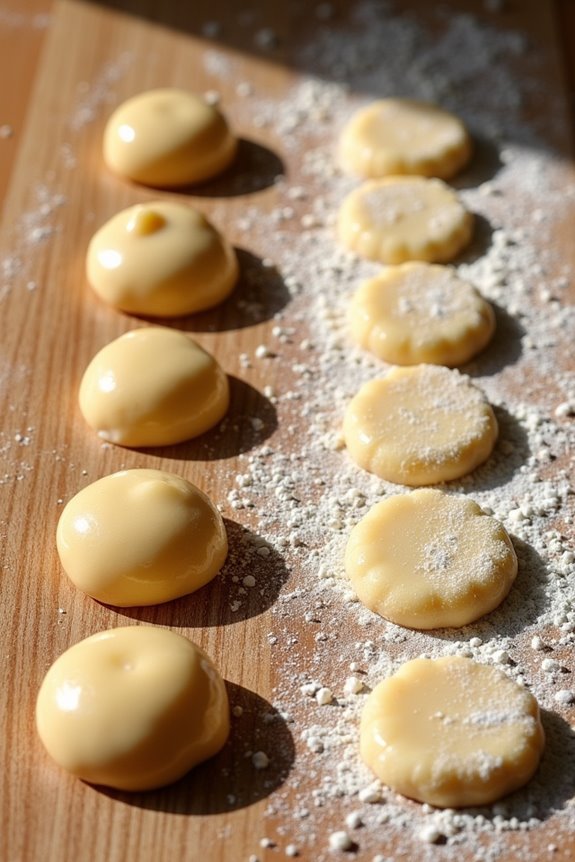
When you’re baking without leaveners, the method you choose—drop or rolled—really shapes how your cookies turn out. Drop cookies are straightforward: you cream your butter and sugars until they’re light and fluffy, mix in eggs and vanilla, fold in your flour and salt, then scoop the dough onto parchment and bake at 350°F for 8–12 minutes, giving you crispy edges and a chewy center. Rolled cookies take more patience since you’ll chill your dough for 1–2 hours, roll it to ¼–½ inch thick, cut your shapes, and bake for 10–12 minutes at the same temperature—but if you don’t mind the extra steps, you get those satisfying decorative shapes that look homemade in the best way.
Drop Cookies Method
How’d you like to make cookies that are chewy in the middle and crispy on the edges—all without baking powder?
Drop cookies are your ticket. Here’s what you’ll do:
- Cream butter and sugar until light and fluffy, beating them together until they’re pale and airy
- Add eggs and vanilla, stirring until everything’s combined and smooth
- Fold in flour and salt, then stir in chocolate chips for that classic flavor
- Scoop onto parchment paper using 1–2 tablespoon dough portions, then bake at 350°F for 8–12 minutes
You’ll get about 24 cookies from one batch. Want thicker cookies? Chill your cookie dough for 20 minutes to 24 hours before baking. After baking, let them rest on the sheet briefly, then cool completely on a rack. That’s it. You’ve mastered drop cookies without leaveners.
Rolled Cookies Method
Ready to advance from drop cookies? Rolled cookies offer excellent results. You’ll chill your cookie dough for 1–2 hours (or overnight) to make rolling easier. Then lightly flour your surface, divide the dough, and roll it to ¼-inch to ½-inch thick—even thickness is important for preventing flat cookies.
Use your favorite cutters to create beautiful cut-out cookies, then re-roll any trimmings. If your dough gets sticky during this process, just refrigerate it again.
Preheat your oven to 350°F and bake your shaped cookies for 10–12 minutes on the middle rack. Without baking powder as a leavening agent, you’ll get wonderfully crisp edges with softer centers. Cool everything completely before frosting—your patience will reward you here.
Chill, Rest, and Roll: Stopping Cookies From Spreading
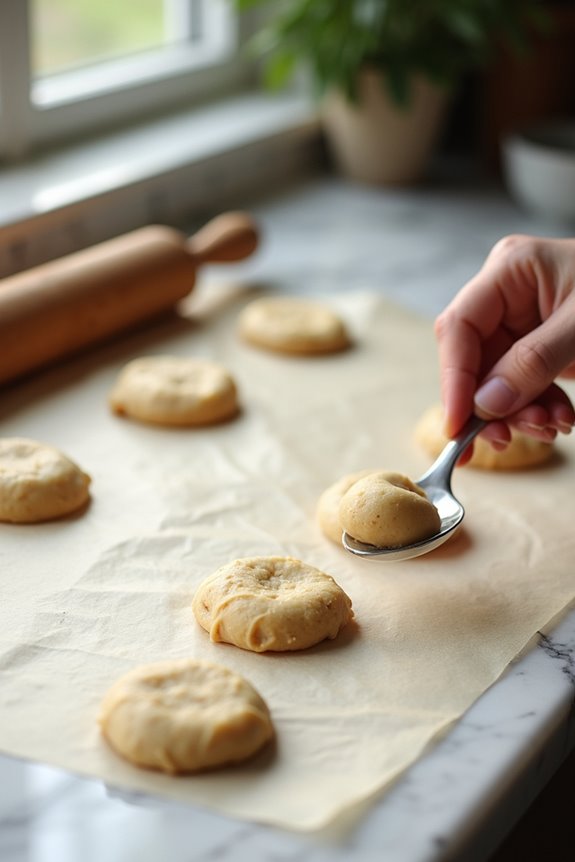
Why do some cookies spread into thin, crispy discs while others stay thick and chewy? The answer lies in your technique—chilling dough, resting it properly, and rolling to the right thickness. Here’s how I control cookie spread:
- Chill your dough to solidify the butter, which prevents excessive spreading during baking
- Rest the dough for 5–10 minutes after refrigeration for easier handling and even shaping
- Roll dough to a consistent ¼-inch to ½-inch thickness using a thickness guide or rings
- Divide dough in half, re-roll trimmings, and refrigerate if sticky to maintain workability
When you’re working without a baking powder substitute, controlling thickness becomes even more important. That uniform thickness helps your cookies bake evenly and maintain their desired texture throughout.
350°F for 10–12 Minutes: Perfect Baking Time and Temperature
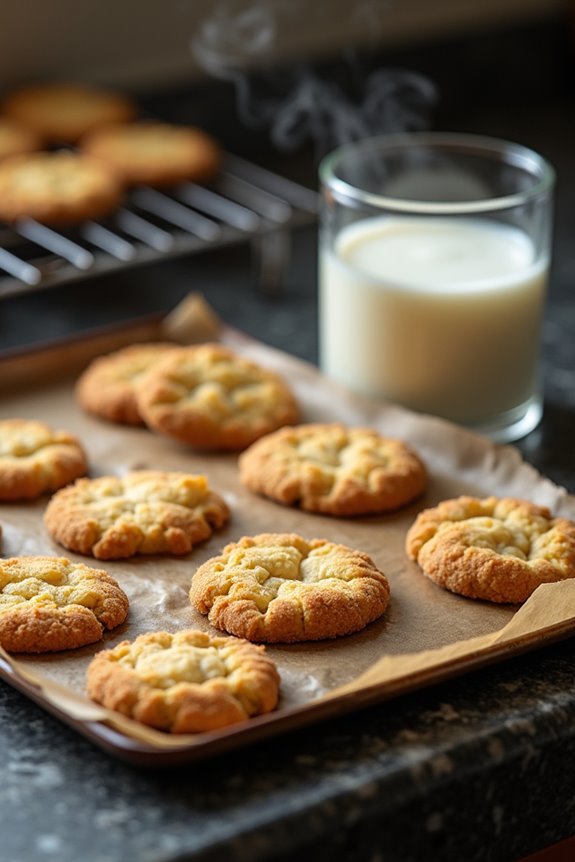
Now that you’ve got your dough rolled to the perfect thickness, it’s time to bake—and this is where temperature and timing matter. I always preheat my oven to 350°F with the rack positioned in the middle. This baking temperature allows for even heat distribution, which is important when you’re baking without baking powder.
For the baking time, I aim for 10–12 minutes. I watch for golden tops while keeping those centers slightly underdone—that’s your technique for achieving chewy cookies with good cookie texture. If you’re baking two sheets simultaneously, swap their positions after 7 minutes. This simple step prevents one batch from baking faster than the other.
Once the timer goes off, let your cookies rest right on the baking sheet for 10 minutes before transferring them to a cooling rack.
The Texture You Want: Chewy Middle, Crispy Edges
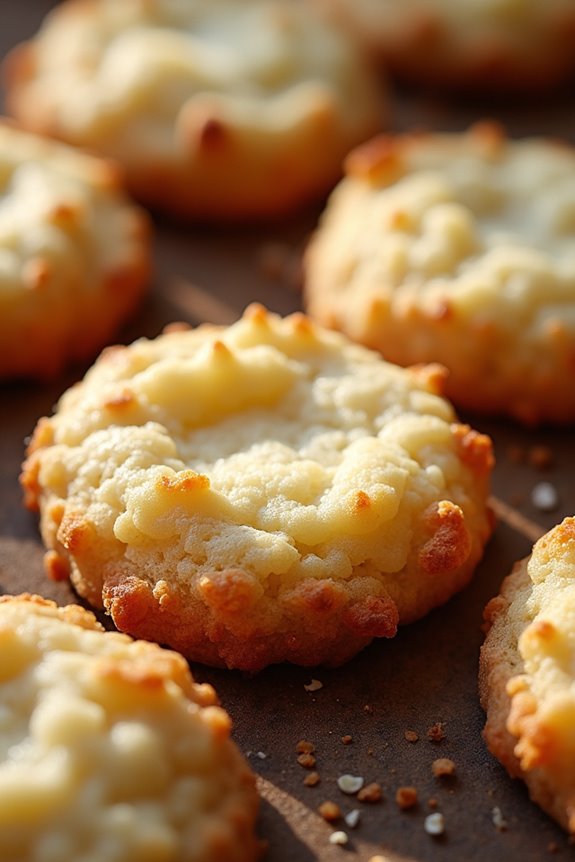
You’ve got to rely on your creaming method and your eggs.
- Cream softened butter with sugar until light and fluffy—this creates air pockets that give you structure
- Fold in chocolate chips evenly so every bite has that satisfying texture mix
- Rest your dough for 5–10 minutes after chilling to let flavors develop and edges set properly
- Roll to even thickness (¼-inch to ½-inch) so your chewy middle and crispy edges bake uniformly
The creaming method without baking powder works because eggs trap air naturally. Don’t overmix once you add flour—you’ll knock out those bubbles. Bake until golden tops form while centers stay slightly underdone. That’s where your chewy texture develops. You’re building texture through technique, not leaveners.
How to Store and Prep Ahead
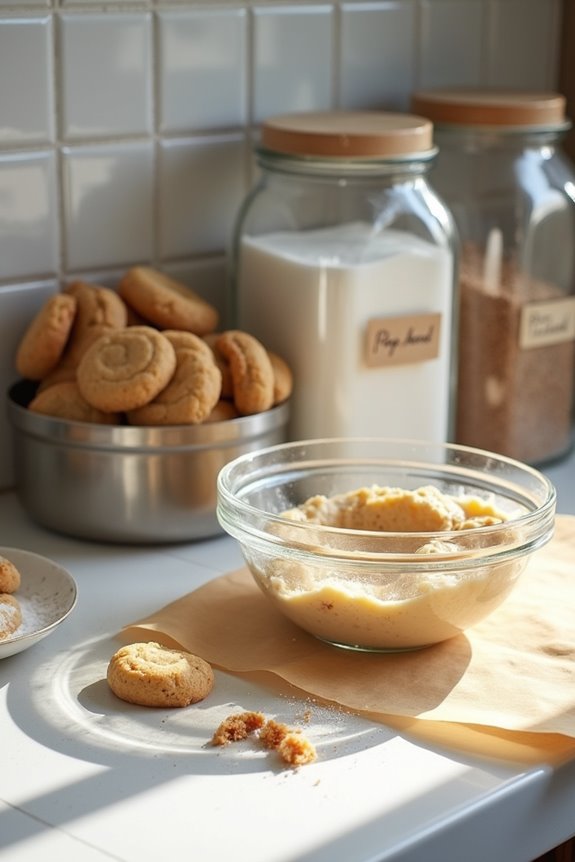
Once you’ve nailed the baking technique, getting ahead of the game with prep and storage is what keeps your cookie success going strong. I prep ahead by making refrigerator dough the night before—it actually prevents spreading and gives you thicker cookies. Roll your dough to 1/4-inch thickness, chill it, then cut and bake whenever you want. For storing baked cookies, I use an airtight container at room temperature, which keeps them fresh up to seven days. This method maintains that crispy exterior and chewy center we worked so hard to achieve. You don’t need baking powder to make delicious cookies, but smart prep and storage? That’s the real key to having homemade cookies ready on hand.
Chocolate Chip Cookies Without Baking Powder: The Drop Method
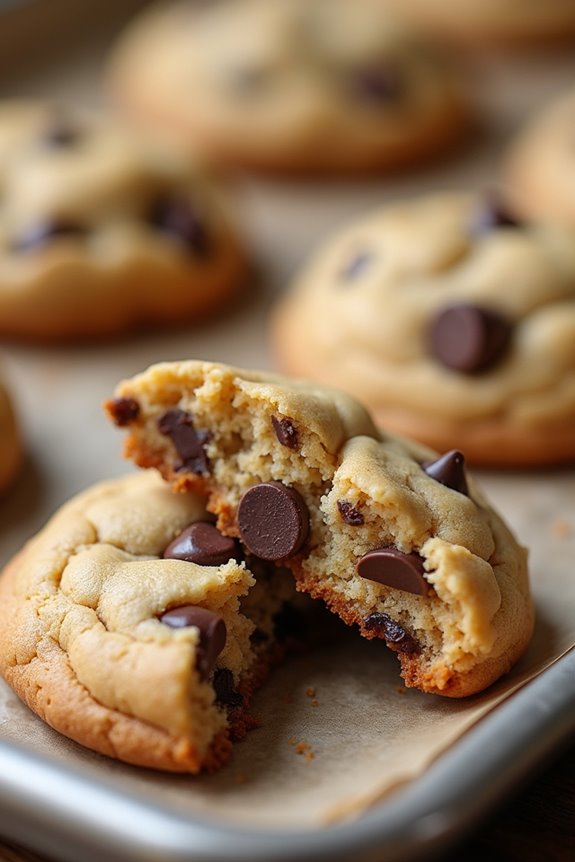
Want to know how to get crispy edges and a soft, chewy center without any baking powder? Here’s how I make mine:
- Cream softened butter with brown sugar until fluffy, then add eggs and vanilla
- Mix in low-sodium salt and flour gently—avoid overmixing to keep structure intact
- Fold in chocolate chips, then drop 1–2 tablespoon portions onto a parchment-lined sheet
- Bake at 350°F for 8–12 minutes, rotating sheets for even browning
After baking, I rest the cookies on the sheet for 10 minutes before cooling completely on a rack. That resting period is where the texture develops. You’ll get that perfect balance—crispy outside, chewy inside—all without relying on baking powder at all.