
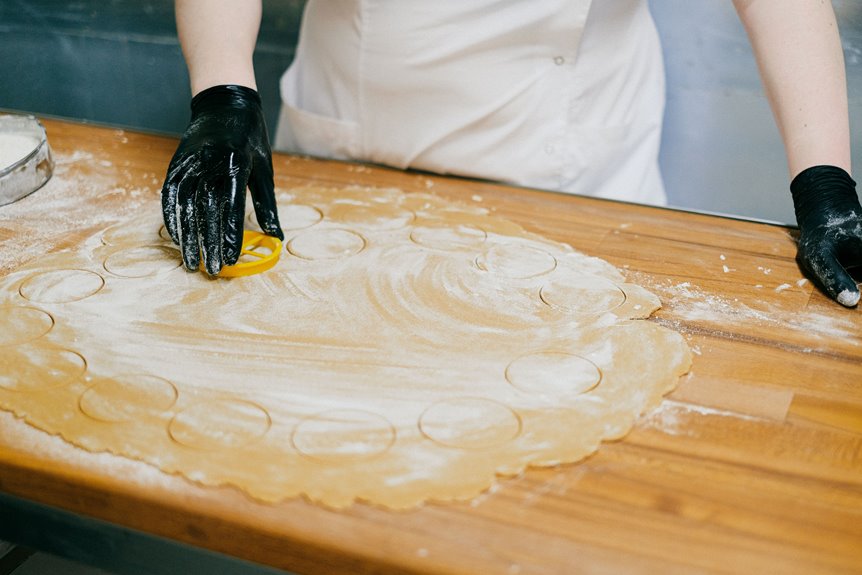
I’ve microwaved cookie dough countless times, and here’s what actually works: start with room-temperature, edible dough in a microwave-safe ceramic dish on medium power. Microwave for 30 seconds, rotate halfway through, then check. Add 5–10 second bursts as needed—don’t exceed 2 minutes total. Let it rest 5 minutes after cooking; residual heat finishes the job. For chewy cookies, stop earlier; for crispy edges, go slightly longer. Freeze portions in ziplock bags for on-demand desserts. The key is discovering your microwave’s exact sweet spot.
Check If Your Dough Is Microwave-Safe
Before you pop that cookie dough into your microwave, you’ll want to do a quick safety check—because not all doughs are created equal in terms of microwaving. First, I look at the ingredients to verify dough safety. Heat-treated flour is your friend here, significantly reducing bacterial risk. Next, I check whether my dough contains raw eggs or unpasteurized components. If it does, I skip the microwave altogether.
I also confirm the dough is truly edible dough, meaning it’s specifically designed for consumption without full baking. Pre-made edible cookie doughs work great. Then comes the practical part: I grab a microwave-safe bowl or dish. Metal’s off-limits, but glass and ceramic work perfectly for even microwave heating times. These simple checks take just a minute but produce better results.
Use Room-Temperature Dough for Even Cooking

Temperature matters more than you’d think when you’re microwaving cookie dough, and here’s why: room-temperature dough heats up evenly throughout, while cold dough creates those frustrating hot and cold spots that’ll ruin your cookies. When butter and sugars are warm, they cream together smoothly, giving you that uniform texture you’re after. Plus, room-temperature dough blends faster, so chocolate chips distribute evenly. If you’ve refrigerated your dough, just let it sit out 15–30 minutes before microwaving.
| Dough State | Heat Distribution | Texture Result | Cooking Time |
|---|---|---|---|
| Cold | Uneven, molten center | Hard edges, soft middle | Longer, inconsistent |
| Room-temperature | Even throughout | Uniform, consistent | Shorter, predictable |
| Warm | Too fast | Risk of overcooking | Very short |
This small step makes a real difference in your microwave cookie success.
Select Your Microwave-Safe Dish and Power Level
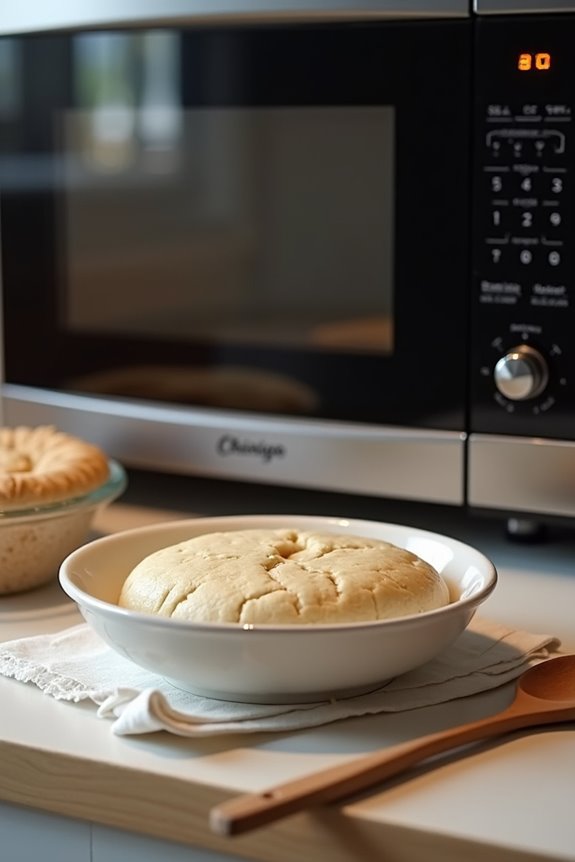
Choosing the right dish and settings is where microwave cookie success really takes off. I always grab a microwave-safe dish—ceramic or glass work great—because they heat evenly without creating those annoying hot spots that scorch your dough. Next, I dial in the power level. Medium setting is your friend here. It prevents overheating and gives your cookies a fighting chance at decent texture.
Here’s my go-to technique: start with short burst cooking, like 20 to 40 seconds, then check your progress. Rotate the dish if you can—it balances the heat beautifully. After microwaving stops, I let the dough rest for a few minutes. That rest time lets your cookie finish cooking through residual heat, and you’ll get a texture worth eating.
Microwave in Short Bursts: 20–40 Seconds at a Time
Why rush the microwave when patience actually pays off? I’ve learned that microwave bursts are an effective approach for perfect cookie dough. Here’s my method: I start with 20–40 second cooking intervals on medium power, checking after each burst. This method gives me temperature control and prevents overcooking.
Halfway through, I rotate or stir the dough for even cooking. It’s a small step that produces better results. If I’m using extra-large scoops, I add an additional 10–20 seconds to the initial time.
My baseline? Thirty seconds. I adjust in 5-second increments based on how my microwave performs. After microwaving, I always allow a 5-minute resting period. This lets heat distribute evenly and improves the texture. Short cooking intervals might seem tedious, but they’re worth the effort.
Let Your Cookies Rest Before Serving
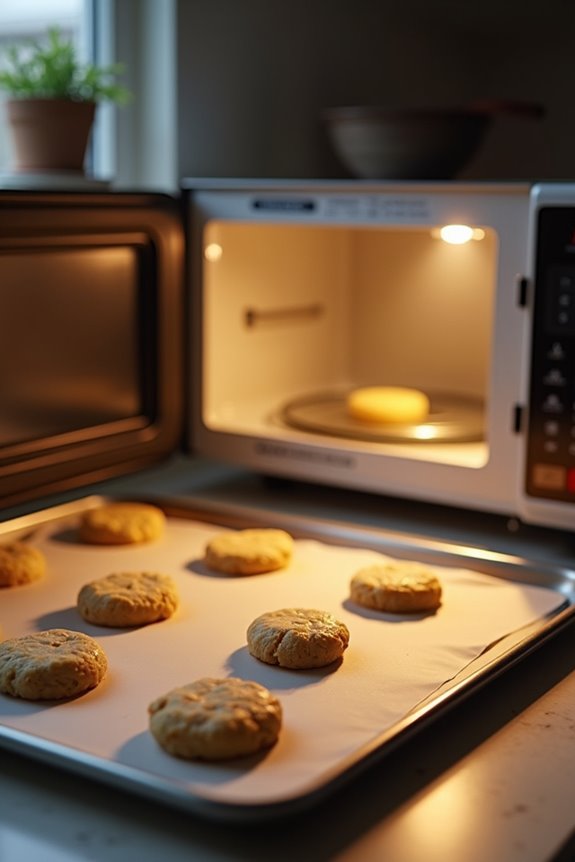
I know it’s tempting to dig right in, but here’s the catch—letting your cookies rest for about 5 minutes after microwaving actually helps them improve. During this short wait, the heat distributes evenly throughout, which firms up that gummy center and keeps your cookie from collapsing the moment it cools down. You’ll notice the flavors settle and the texture becomes noticeably chewier, so those 5 minutes are worth the wait.
Heat Distribution Benefits
When you pull your microwaved cookie out and it’s piping hot on the edges but still a bit soft in the middle, that’s actually the perfect moment to practice some patience.
Here’s why resting time matters for microwave heat distribution:
- Hot spots from uneven cooking gradually balance out during rest
- Residual heat continues cooking your cookie’s center evenly
- Moisture redistributes, preventing rubbery or overcooked edges
- Interior temperature equalizes with the outside
I’ve learned that using a microwave-safe dish and cooking in short bake bursts—like 20 to 40 seconds with breaks between—really helps. Then, rotating or stirring your dough during cooking promotes even cooking throughout. When you let it rest for five minutes after, the heat distribution benefits work to bring your cookie from unevenly cooked to perfectly balanced.
Texture Improvement Methods
The art of a perfectly textured microwaved cookie doesn’t happen the moment you pull it from the microwave—it happens during those five minutes after. I’ve learned that patience really does pay off here. When you let your microwave cookies rest, the residual heat finishes setting the centers while moisture redistributes evenly throughout each dough portion. This resting period improves what might feel rubbery or undercooked into something you’ll want to eat.
Here’s what I do: after microwaving for about 30 seconds (or 10–20 seconds longer for extra-large scoops), I set a timer for five minutes and step away. This texture improvement method smooths out uneven heating and enhances chewiness. The cookies feel softer, taste less dry, and they’re noticeably better with ice cream when that moisture has settled back in properly.
Avoid Burnt and Undercooked Results
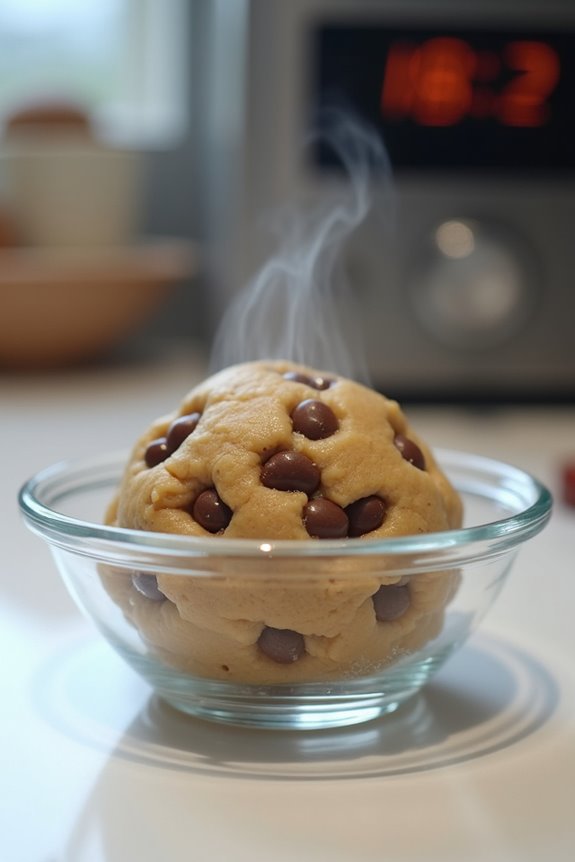
I’ve learned that nailing the perfect microwave cookie dough comes down to three key moves: watching your power setting closely, timing each batch with precision, and making sure the heat hits every part of your dough evenly. Start with 30 seconds on medium power, then add 5–10 seconds as needed while checking frequently so you don’t end up with burnt edges and a gooey center. Rotating your plate or stirring halfway through improves uniform cooking, plus that 5-minute rest afterward lets everything finish cooking without scorching while the moisture settles in.
Monitor Microwave Power Settings
How’s your microwave’s wattage—is it a wimpy 700-watter or a powerhouse at 1200? That difference changes everything about your cooking times. I’ve learned that appliance wattage directly impacts how quickly your cookie dough cooks, so you’ll want to adjust accordingly.
Here’s what I do to nail it:
- Start with 30 seconds on medium power, then test
- Add 5–10 second increments based on your microwave’s strength
- Extra-large scoops need an additional 10–20 seconds beyond that initial time
- Rotate stir halfway through to prevent hot spots
The important part comes after microwaving, though. I always rest my cookie for 5 minutes—this allows carryover cooking and helps the texture set properly. This small step prevents burnt edges and gooey centers. Your microwave’s power matters, but patience matters more.
Time Your Cooking Carefully
Timing’s everything when you’re microwaving cookie dough, and I’ve seen plenty of batches go from perfectly gooey to charcoal in just a few extra seconds. Start with 30 seconds on medium, then add 5–10 second increments until your center is underdone and edges are set. If you’re using extra-large scoops, add 10–20 more seconds total for thorough cooking. Here’s the critical part: never go beyond 2 minutes, as longer cook time results in melted, overcooked cookies that turn carbon-like. Once done, let your cookie rest for about 5 minutes. This rest period finishes cooking through carryover heat and improves your texture. If results seem uneven next time, rotate halfway through. Microwave timing takes practice, but you’ll nail it.
Check For Even Heat Distribution
Why do microwave cookies sometimes burn around the edges while staying raw in the middle? Uneven heat distribution happens because microwaves don’t heat uniformly. Checking for even cooking helps prevent burnt edges and raw centers.
Here’s what works:
- Rotate halfway through. Turn your microwave-safe plate a quarter turn midway through cooking to compensate for hot spots.
- Shape uniformly. Press dough into consistent thickness so every part cooks at the same rate.
- Start short. Begin with 20–40 second bursts and check progress frequently.
- Rest afterward. Let the cookie sit several minutes, allowing heat to redistribute and finish cooking evenly.
This approach produces better results consistently.
Get the Texture You Want: Chewy or Crispy
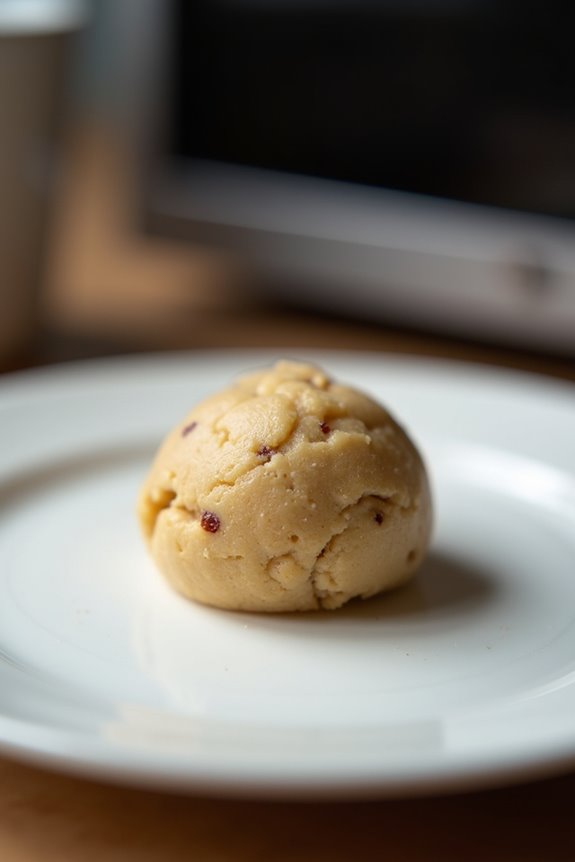
When you’re microwaving cookie dough, the difference between a gooey center and crispy edges often comes down to one thing: timing. I start with 30 seconds on medium power, then check my results. Want that chewy texture? Stick with the baseline or add just 5–10 second increments. For extra-large scoops, you might need 10–20 more seconds total.
Craving crispy edges instead? I extend the microwave time slightly or use a thinner dish. Here’s what works: let your cookie rest for a few moments after microwaving. This brief pause lets heat distribute evenly, creating those crispy edges while keeping the center soft.
Since every microwave performs differently, I customize based on my appliance’s strength. It’s honestly easier than it sounds once you figure out your machine’s personality.
Freeze and Microwave Cookie Dough for Quick Desserts
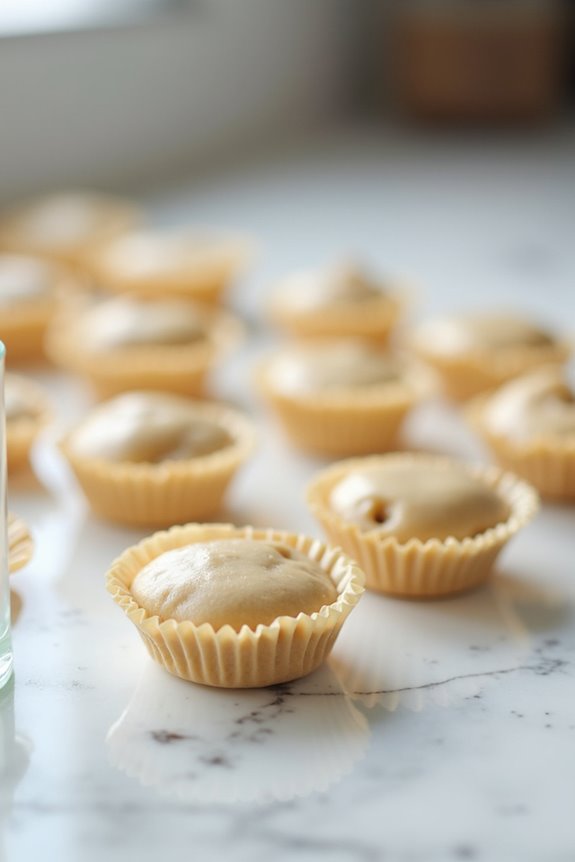
Freezing your dough in portions keeps everything organized and convenient. Freeze dough balls on a cookie sheet first, then transfer them to a ziplock bag. Label those frozen portions with the date to track freshness.
When cravings hit, here’s what frozen cookie dough offers:
- Bake a small batch of 6 cookies immediately, no thawing required
- Microwave individual cookies on demand for quick desserts
- Use evenly shaped dough portions for consistent results
- Keep frozen cookie dough ready for up to several weeks
The benefit? You’ve got dough portions waiting in freezer storage, ready whenever you need a microwave cookie. No planning ahead required.
Microwave Cookies Plus Ice Cream: A Simple Treat
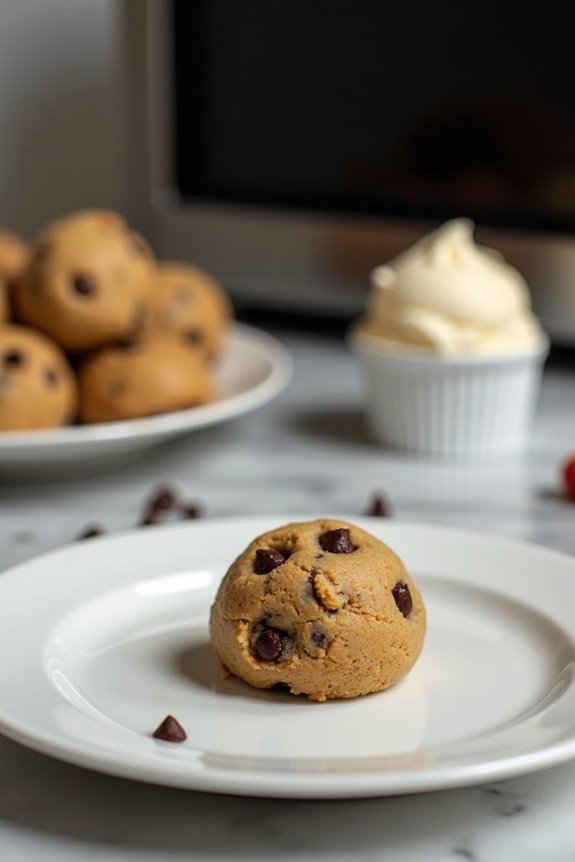
Once you’ve got frozen dough balls stocked in your freezer, you’re ready to create an even better dessert—one that takes just minutes from craving to plate. I microwave my cookies for about 30 seconds on a microwave-safe plate, which gives me that perfect gooey center I’m after. Here’s the thing: I let them cool for five minutes before adding anything on top. This cooling time actually improves the texture and flavor. Then comes the moment I’ve been waiting for. I scoop vanilla ice cream right onto my warm microwave cookies, and it melts slightly into all those gooey spots. Whether you’re treating yourself or serving guests, this simple combination delivers a satisfying dessert.