
I’ll walk you through freezing decorated sugar cookies so they stay perfect for weeks.
First, let your cookies cool completely, then let royal icing dry for 8–24 hours—really dry.
Layer them between parchment sheets in an airtight container, wrap it with cling film, and freeze up to three months.
When you’re ready, thaw unopened at room temperature for several hours.
If icing gets damaged, you can touch it up with fresh royal icing.
There’s more to know about keeping them flawless throughout the whole process.
Why Freeze Decorated Sugar Cookies

Ever wonder why anyone would freeze perfectly good cookies instead of eating them right away? It’s practical for busy schedules. When I freeze decorated sugar cookies, I can decorate in advance and tackle holiday prep weeks early. The icing dries, the cookies maintain their shape, taste, and designs perfectly.
Here’s what makes it work: proper airtight storage with parchment paper layers keeps everything pristine. I nestle cookies between parchment sheets, load them into freezer-safe containers, and they stay beautiful for up to three months. No freezer burn, no smudged decorations.
The best part? Thawing at room temperature takes just minutes. I’m not scrambling the night before events anymore. Frozen decoration means I’m actually ahead of the game, and honestly, that feels good.
Cool and Inspect Cookies Before Freezing

Before I freeze my decorated cookies, I need to make sure they’re completely cool and totally damage-free. I let them cool all the way on the counter, then I carefully inspect each cookie for cracks, broken edges, or any spots where the icing might’ve chipped. Only the perfect ones are worth the freezer space. Once I’ve sorted out the keepers from the not-so-great ones, I’m ready to move forward.
Cooling Time Requirements
Cooling Time Requirements
Patience matters when freezing decorated sugar cookies. Rushing this step compromises your work. Here’s what you need to know about cooling time:
- Room temperature cooling: Let your baked cookies cool completely on the parchment-lined sheet in a single layer for at least 30 minutes
- Icing dry time: Royal icing needs 8 to 24 hours to dry fully, depending on thickness—thicker decorations need longer
- Freeze readiness test: Gently press your finger on the icing; if no indentations remain, you’re ready
- Complete cooling: Allow cookies to reach room temperature before freezing to prevent condensation and smudging
Skipping these steps invites problems. Take the time now, and your frozen cookies will perform better later.
Damage Assessment And Sorting
Once your cookies have cooled completely and that royal icing’s had plenty of time to harden, it’s inspection time. I carefully examine each cookie for cracks, damaged decorations, or moisture spots that could spell trouble later. Any imperfect ones get set aside—I don’t want damage spreading to my good cookies during freezing.
Next, I sort by type: undecorated vs decorated cookies go in separate groups. This matters because decorated cookies with royal icing need extra care and different packaging strategies. I also organize by icing stability, keeping delicate designs away from sturdier plain cookies.
This sorting system saves me headaches during storage and thawing. It’s basically quality control, and honestly, it makes the whole freezing process smoother and way more organized.
Let Royal Icing Dry Completely
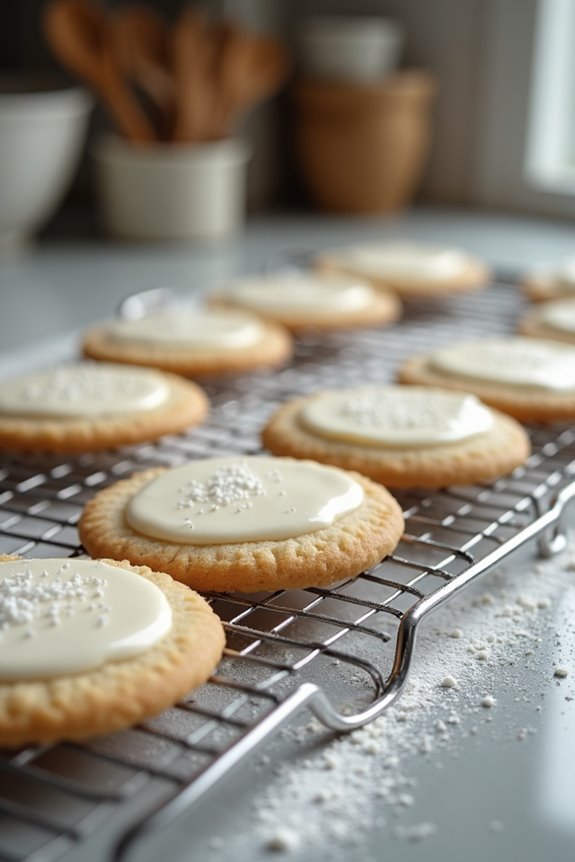
Before you freeze your decorated cookies, let that royal icing dry completely—and I mean really hard, not just surface-dry—which typically takes anywhere from 8 to 24 hours depending on how thick you applied it. To test if it’s ready, gently press the icing with your fingernail; if it leaves no indent and feels completely solid, you’re good to go. Skipping this step is a mistake I made once, and frozen-then-thawed cookies with under-dried icing end up sticky and smeared, so patience here protects your beautiful designs.
Drying Time Requirements
Why does timing matter so much when you’re freezing decorated cookies? Rushing this step ruins all your hard work. Here’s what you need to know about drying time:
- Typical drying window: Royal icing needs 8 to 24 hours to fully dry
- Thickness matters: Thicker layers take longer than thin coatings to harden completely
- The fingerprint test: Gently touch your icing; if it doesn’t stick or leave a mark, you’re good to go
- Why it matters: Fully dried icing creates a protective barrier that keeps your designs safe during freezing and thawing
Waiting feels endless. But patience protects your iced cookies from smudging and damage. Once that royal icing hardens completely, your decorated creations gain the stability they need for freezing. Follow the process, and your cookies will perform better.
Testing For Complete Hardness
How can you tell if your royal icing’s actually ready for the freezer? I gently press my finger against the icing surface—it shouldn’t feel tacky or soft. When it’s fully hardened, it’ll feel smooth and firm, like a shell protecting your design.
| Testing Method | What to Look For |
|---|---|
| Touch test | Hard, not sticky surface |
| Visual check | Matte finish, no shine |
| Time elapsed | 8-24 hours passed |
| Room conditions | Good airflow maintained |
I check the dryness by looking for a matte finish instead of glossiness. If tackiness remains, I keep the cookies at room temperature with good airflow circulating around them. This prevents condensation issues later during freezing and thawing, keeping your decorations beautiful and crisp.
Layer Cookies Between Parchment Paper

Once your cookies have cooled completely, it’s time to set them up for freezing—and this step is important if you want your decorated sugar cookies to remain in good condition.
Once your cookies have cooled completely, it’s time to set them up for freezing—this step is crucial for preserving your decorated sugar cookies.
Here’s how to layer your decorated cookies for freezing:
- Place cooled cookies on parchment-covered sheets without overlapping them
- Add a protective parchment layer between each cookie layer to prevent icing from smudging
- Wrap individual cookies in cellophane bags before stacking for easier handling and gifting
- Transfer your layered cookies to an airtight container once they’re frozen solid
This method keeps your decorative designs intact while you freeze everything safely. Parchment paper prevents sticking and protects the work you put into decorating. Label your airtight container with today’s date so you’ll know when to thaw at room temperature later.
Seal and Wrap for Maximum Protection
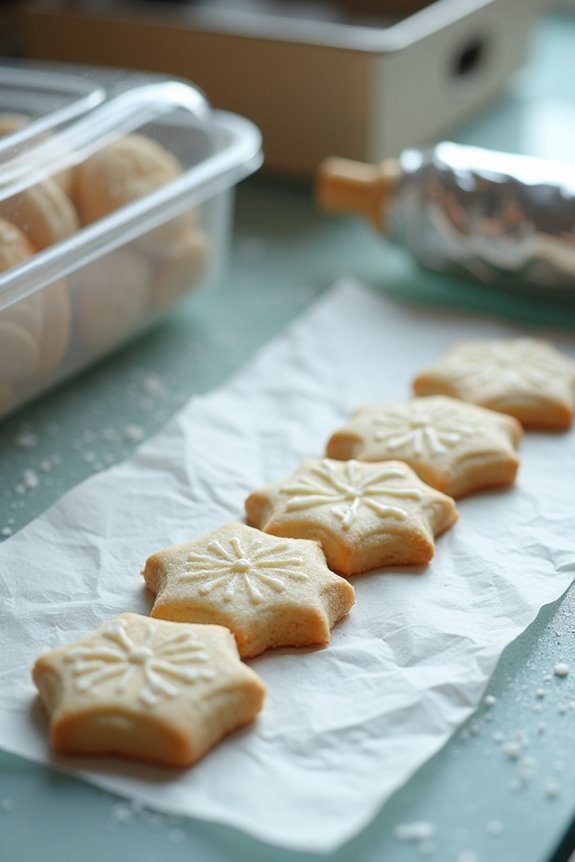
After you’ve layered your cookies with parchment paper, it’s time to lock in that protection with some strategic wrapping. I like to wrap my entire airtight container in cling wrap for extra freezer protection. This double-barrier approach keeps freezer burn away from your hard work. For individual cookies, I seal them in cello bags using a heat sealer—it’s an effective method for maintaining moisture and keeping decorations pristine. The heat sealer creates an airtight seal that works well. Make sure your container’s lid closes tightly, minimizing air exposure that damages icing. Finally, label everything with the date and contents. You’ll want to track your cookies within a three-month freezing window, so you know exactly what you’ve got stored away.
How Long Can You Freeze Decorated Sugar Cookies?

Decorated sugar cookies can stay frozen for up to three months when stored properly—use airtight containers, minimize air exposure, and add cling film wrap to prevent freezer burn. To keep your cookies looking fresh and delicious, store them with parchment between layers, keep them sealed tight, and maintain a consistently cold freezer temperature. When you’re ready to enjoy them, thaw them unopened at room temperature for several hours or overnight to preserve the beautiful icing.
Storage Duration And Quality
How long can you actually keep those decorated sugar cookies in your freezer? With proper storage, you’re looking at solid timeframes for keeping your creations fresh and delicious.
Here’s what you can expect:
- Up to 3 months for decorated cookies when icing is completely dry and stored in airtight containers
- Six weeks to several months with vacuum-sealed or tight-wrapped packaging for extended freshness
- Proper layering using parchment paper between cookies prevents sticking and freezer burn
- Room temperature thawing in sealed packaging preserves icing integrity and prevents condensation
The key to maintaining quality is keeping your decorated sugar cookies properly sealed throughout freezer storage. Use airtight containers with parchment paper separating each layer. When you’re ready to thaw, patience matters—let them sit sealed at room temperature so the icing stays in good condition.
Optimal Freezing Conditions
Want your decorated sugar cookies to stay fresh for months? Proper freezing conditions are important. Here’s what works: store your decorated sugar cookies in an airtight container, layering parchment paper between each cookie to prevent sticking and protect those designs. Your royal icing needs to be completely dry first—typically 8 to 24 hours depending on thickness. Once sealed properly, frozen decorated sugar cookies last up to 3 months without losing quality. When you’re ready to enjoy them, thaw at room temperature while still in their packaging. This prevents condensation that’d make them soggy. Skip freezing cookies with jam fillings or fragile decorations, though. They don’t handle freezer storage well and might disappoint you when thawed.
Prevent Freezer Burn, Condensation, and Icing Smudging

When you’ve decorated your sugar cookies with beautiful royal icing, the last thing you want is to open your freezer a month later and find them covered in frost or your icing all smudged up.
I’ve learned that protecting your decorated cookies requires a strategic approach:
- Let royal icing dry completely before freezing—this prevents smudging and damage during storage
- Layer cookies between parchment paper sheets in an airtight container to prevent sticking and shield decorations
- Seal containers tightly, then wrap in cling film for extra freezer burn protection
- Thaw at room temperature in original packaging to avoid condensation that makes cookies soggy
These steps keep your work intact. Your decorated cookies will look as impressive when you freeze them as they do when you thaw them weeks later.
Thaw Frozen Sugar Cookies Properly

I arrange cookies on parchment paper, spacing them apart so they don’t stick together during thawing time. Several hours or overnight works best for optimal texture and appearance. Once they’re thawed, I resist the urge to touch them immediately. The icing needs time to fully harden back into that gorgeous shell. Gentle handling prevents smudging, keeping your iced cookies looking as beautiful as the day you froze them.
Frequently Asked Questions About Freezing Sugar Cookies

Now that you’ve mastered the thawing process, you probably have some lingering questions about freezing these decorated treats. Let me clear up the confusion so you can freeze cookies with confidence.
Here’s what you need to know:
- Can I freeze decorated sugar cookies? Yes! Wait until your fully dry icing hardens completely before freezing to prevent smudging and preserve those designs you worked on.
- How long do frozen cookies last? Your decorated sugar cookies maintain quality for up to three months in airtight storage, so you have plenty of time to enjoy them.
- Should I use parchment paper between layers? Absolutely. Parchment paper between layers prevents sticking and protects your designs during freezer shelf life.
- What’s the best thawing method? Thaw cookies at room temperature in their original packaging—skip the refrigerator, which causes condensation damage.
Repair Damaged Icing After Thawing

Despite your best freezing efforts, sometimes thawed cookies come out of the freezer looking a little worse for wear—maybe the icing’s cracked, lifted, or smudged in spots.
For minor smudges, gently re-dry the area with a clean toothpick, then reapply a small amount of icing. If you’re dealing with cracked icing, apply a thin layer of fresh royal icing over the damaged section once your cookie reaches room temperature. This re-seals everything nicely.
For a seamless fix, re-decorate over repairs using a fine piping tip to blend everything together. Always use a fresh batch of royal icing during repair work—this prevents color bleeding and keeps your finish uniform.
Let repaired cookies dry completely at room temperature for several hours before handling.
Storage Tips for Long-Term Freshness
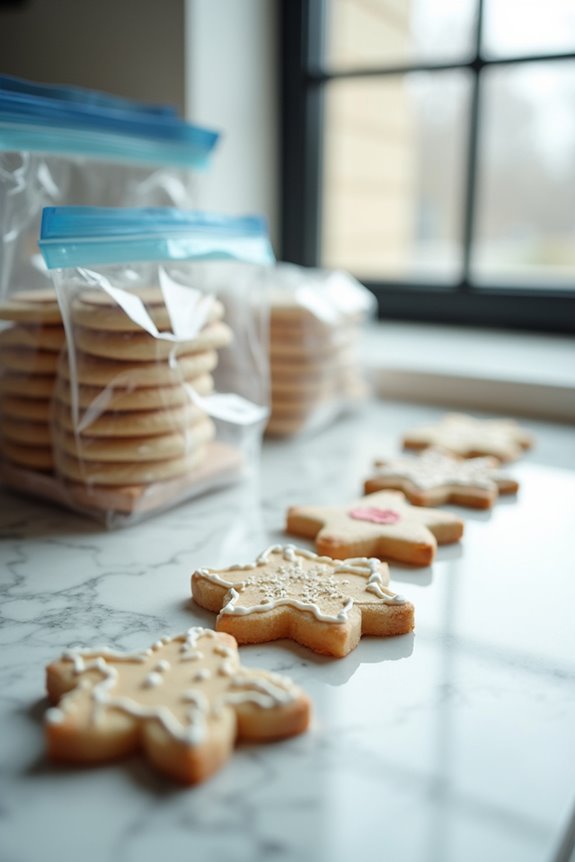
When you’ve invested time in decorating your sugar cookies, you’ll want them to stay fresh and beautiful for as long as possible, which is where smart storage comes in. I’ve learned that a few simple techniques help preserve those gorgeous decorated cookies.
Here’s what I do to keep everything perfect:
- Layer with parchment paper between each cookie to prevent sticking and protect your royal icing
- Use airtight storage in a sealed container to block out freezer burn and moisture
- Wrap extra protection around the entire container with cling wrap for maximum defense
- Freeze for up to 3 months when properly sealed at freezing temperatures
The key? Complete drying of your royal icing before layering. When thawing, keep cookies in their packaging at room temperature to avoid condensation and sogginess.