
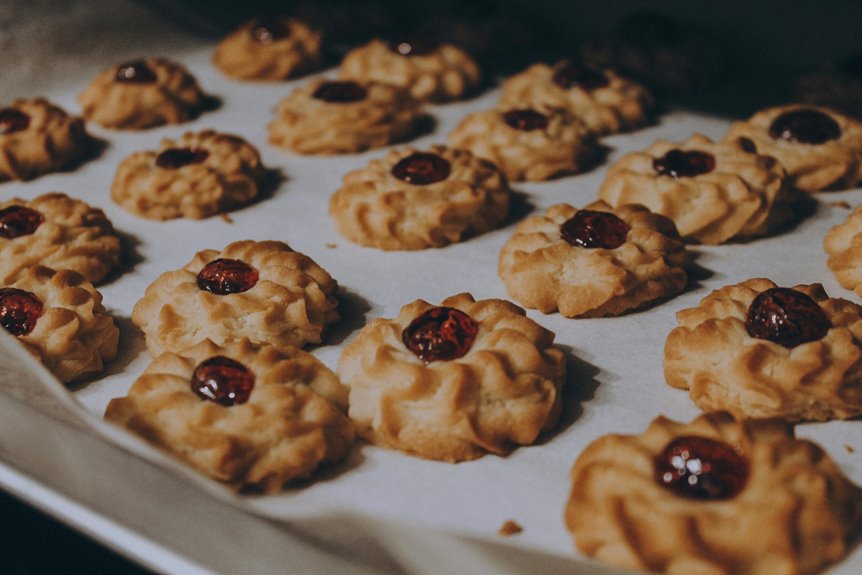
Your sugar cookie dough’s probably too dry from either too much flour or missing liquid. Try this: squeeze a small ball of dough—if it crumbles apart, you need more moisture. Add water or milk one tablespoon at a time, mixing gently after each addition. Also double-check that you’re scooping flour correctly; packing it into cups adds way too much. Let your dough rest wrapped in plastic for 15–30 minutes so ingredients can fully hydrate. There are other potential causes worth investigating.
Quick Fixes: Add Liquid Gradually and Gently Knead
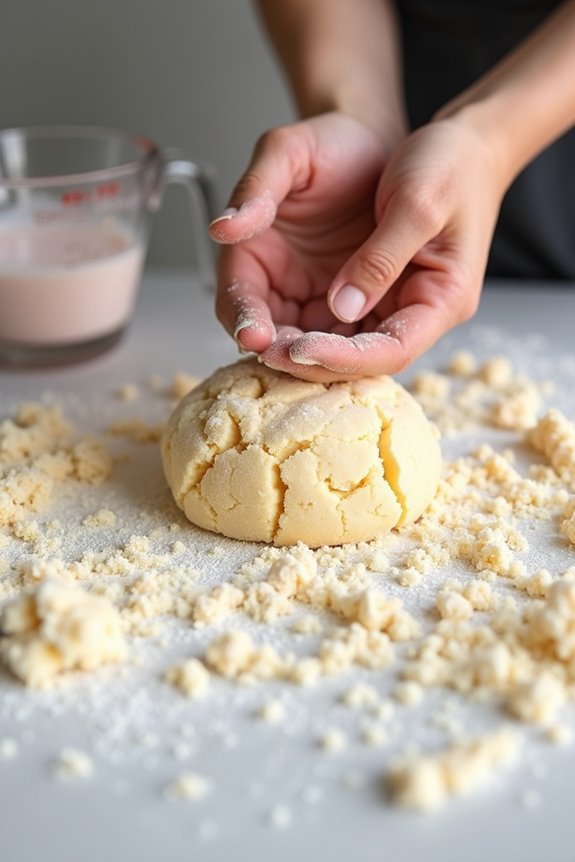
So your sugar cookie dough’s falling apart in your hands? Don’t worry—I’ve been there. The fix is straightforward: liquid adjustment. Here’s what I do. I add liquid gradually, one teaspoon at a time, testing the dough’s texture after each addition. This prevents over-saturation, which is easy to accidentally cause. I use whatever liquid’s already in my recipe: water, milk, or melted butter work well. As I add each teaspoon, I gently knead the dough using light pressure and folding motions. This distributes moisture evenly without overworking it. I stop once the dough just comes together and feels cohesive when I touch it. That balance between crumbly and overdone is what matters.
Diagnose the Problem: Is It Truly Too Dry?
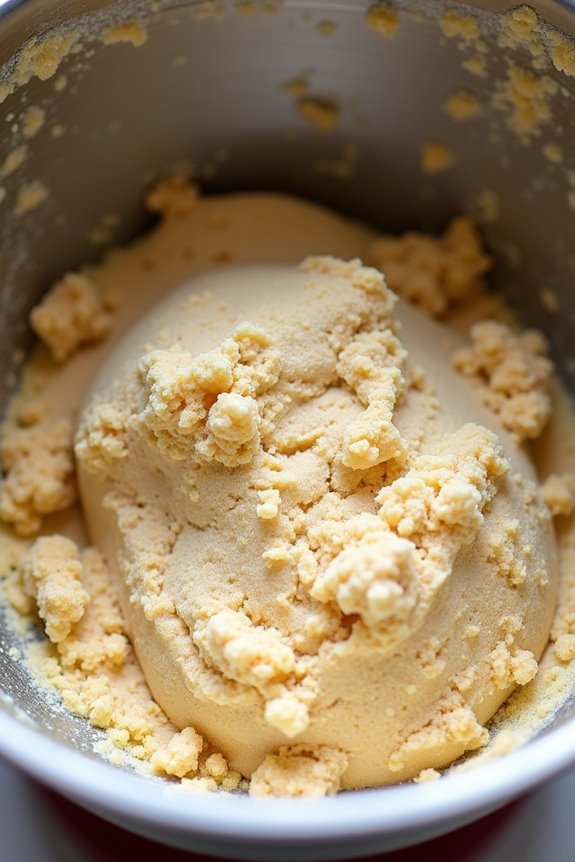
Before you start adding liquid, though, let’s make sure your dough’s actually too dry—because sometimes what feels crumbly isn’t always a moisture problem.
Before adding liquid, confirm your dough is actually too dry—crumbly doesn’t always mean it needs more moisture.
Here’s what I check first:
- The crackle test: Does your dough crackle when you move it? That’s your biggest clue.
- Touch assessment: Run your finger across it. Does it feel sandy or does it hold together slightly?
- The squeeze test: Form a small ball. Does it hold its shape or completely fall apart?
- Flour measurement: Did you scoop flour directly into the measuring cup? You might’ve packed in too much.
- Ingredient order: Did you mix wet ingredients before adding flour?
These simple checks reveal whether you’re dealing with genuine moisture issues or something else entirely. Sometimes, resting your dough wrapped in plastic actually hydrates it enough without adding extra liquid.
Insufficient Liquid in Your Sugar Cookie Dough
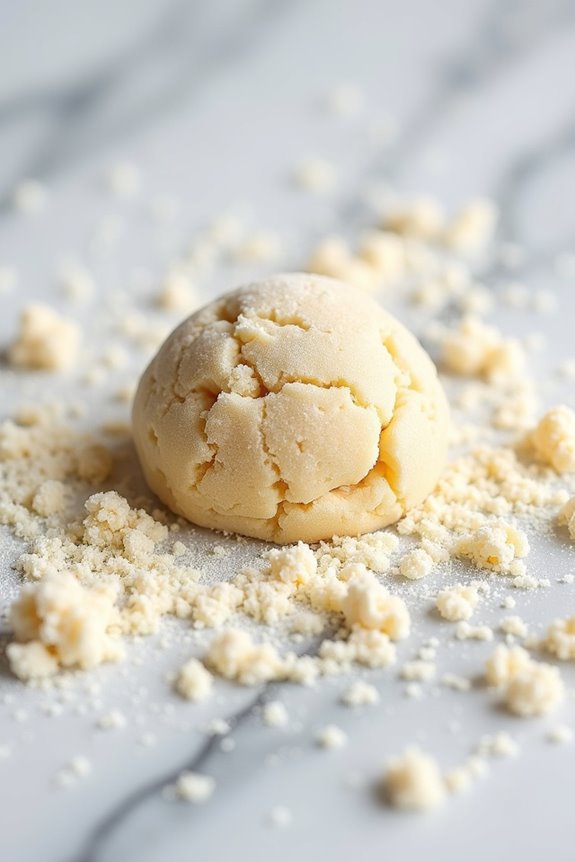
If your sugar cookie dough is crumbly and won’t hold together, you’ve probably forgotten or skimped on the liquid ingredients—and that’s one of the easiest fixes. You’ll want to identify what liquids are missing (like eggs, milk, or vanilla extract), add them back in small amounts like a teaspoon of water or an extra tablespoon of milk, and measure your liquids carefully next time using proper measuring spoons rather than eyeballing it. Sometimes just wrapping your dough in plastic and letting it rest helps too, since the ingredients hydrate and bond better when they’re sitting together for a bit.
Identifying Missing Liquids
One of the most common culprits behind crumbly sugar cookie dough? Missing or mismeasured liquid ingredients. I’ve been there, staring at sandy dough that refuses to come together. Here’s what I look for:
- Forgotten eggs or egg yolks that bind everything
- Skipped vanilla extract or milk in the recipe
- Accidentally omitted butter (melted or softened)
- Measured wet ingredients carelessly, pouring too little
- Failed to account for moisture loss during storage
When your dough lacks sufficient liquid, the dry components can’t bond properly. The result? Crumbly texture that frustrates your baking plans. That’s why I now double-check my recipe before mixing, confirming every liquid ingredient is accounted for. It’s a simple habit that saves time and prevents disappointment.
Adding Moisture Back
The good news? You can fix crumbly dough. Start by adding liquid gradually—I’m talking 1 teaspoon of water or 1 tablespoon of milk at a time. Mix it in, then check the texture. This approach prevents you from accidentally over-saturating your dough, which creates a whole different problem.
Here’s my method: after adding moisture, wrap your dough in plastic and let it rest. This resting period helps the ingredients absorb that liquid you’ve added, improving cohesion naturally. You’ll notice the dough becomes more workable and holds together better.
Measuring Liquid Accurately
How’d your dough end up so dry and sandy in the first place? Honestly, it usually comes down to liquid measurement. When you’re making sugar cookies, precise measuring is everything—and I’ve learned this the hard way.
Here’s what commonly happens:
- You measure flour without leveling it off properly
- You forget to account for humidity in your kitchen
- You eyeball the milk or water instead of using measuring spoons
- You add ingredients too quickly without checking consistency
- You’re working with old eggs that measure smaller than expected
The fix? Start with the exact amount your recipe calls for, then add liquids gradually. A teaspoon of water at a time prevents oversaturation while fixing your crumbly dough. This approach improves your baking results considerably.
Too Much Flour: A Common Culprit
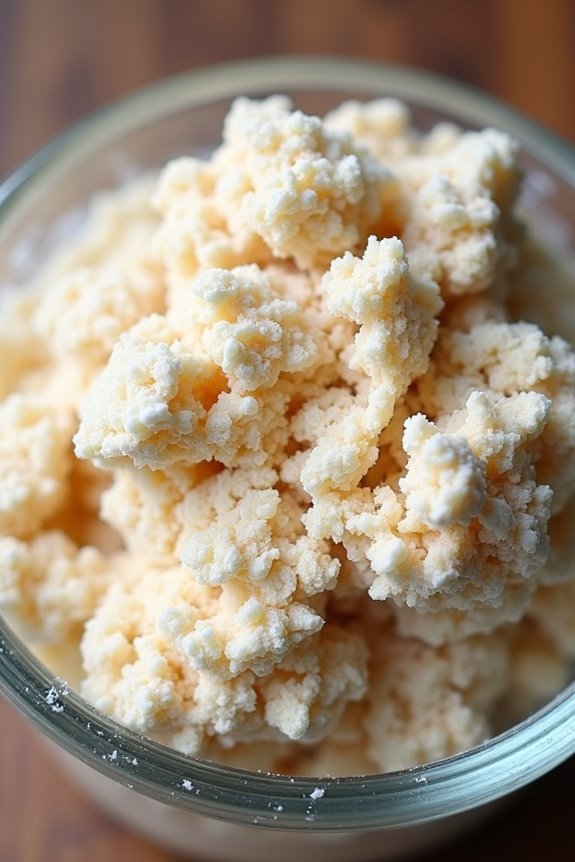
Ever notice how your sugar cookie dough feels more like sand than dough? You’re probably adding too much flour. I’ve been there, and it’s one of the easiest mistakes to make.
When you overestimate flour—especially with all-purpose flour—your dough becomes dry and crumbly instead of soft and cohesive. Here’s what happens:
| Problem | Cause | Solution |
|---|---|---|
| Dry, sandy texture | Excess flour absorbs moisture | Measure carefully |
| Lack of binding | Too much flour, not enough liquid | Add water or butter |
| Crumbly dough | Substituting flour without adjusting liquids | Balance ingredients |
The key? Gentle, precise measurements. Scoop carefully without packing the cup. If your dough’s still crumbly, add a splash of melted butter or milk to restore that perfect cohesion.
How Mixing Technique Affects Dough Texture
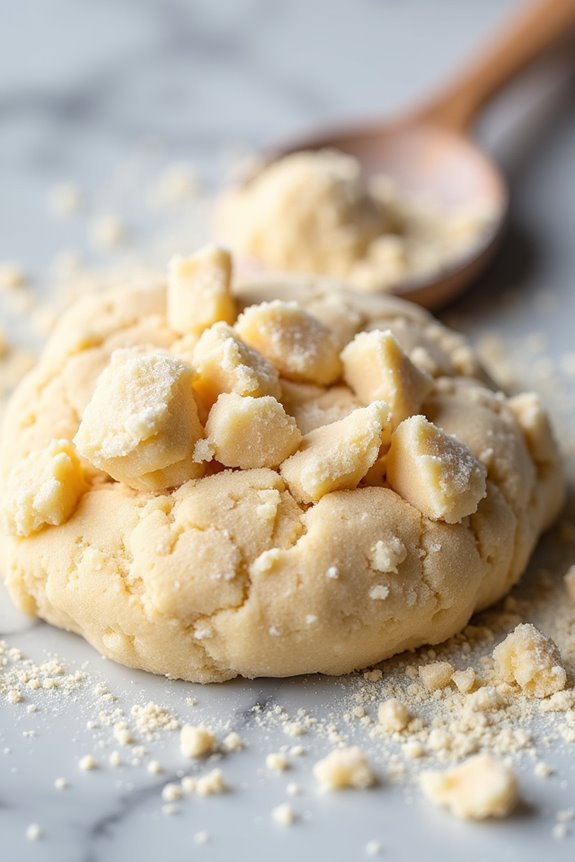
Your mixing method matters just as much as your flour measurement does. I’ve learned that overmixing incorporates too much air, drying out dough and creating that frustrating crumbly texture. Undermixing leaves ingredients unevenly scattered, creating moisture pockets that won’t bind properly. Here’s what I do to get it right:
Your mixing method matters just as much as your flour measurement does—overmixing dries dough out, undermixing leaves it uneven.
- Mix until just combined to prevent extra flour from sneaking in
- Stop before you think you’re done—seriously, step away
- Avoid kneading, which worsens crumbly results significantly
- Wrap dough in plastic after mixing to improve texture
- Let it rest so moisture distributes evenly throughout
The sweet spot? Mix gently, watch carefully, and pay attention to how the dough feels. When ingredients just come together, you’ve nailed it. This simple adjustment has changed my cookies from disappointing to more reliable results.
Inadequate Fat Prevents Proper Binding
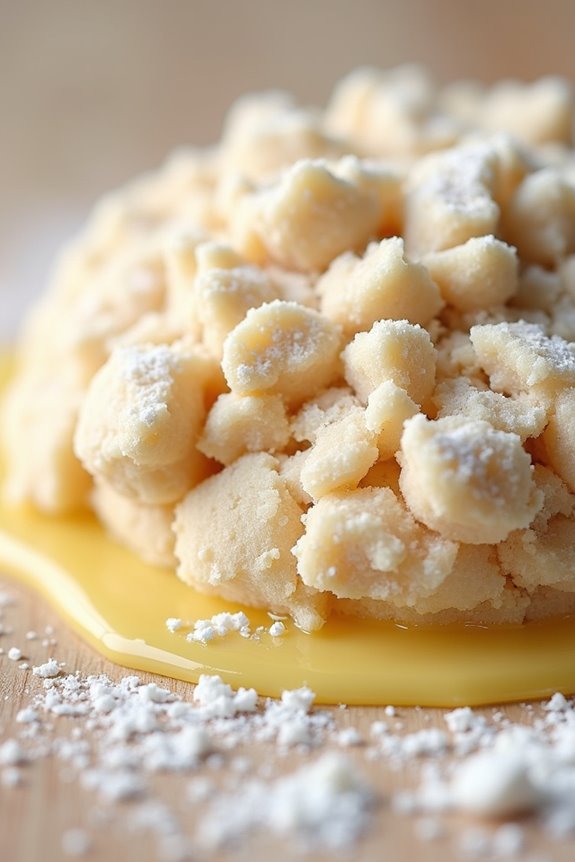
If you’ve skimped on butter or shortening, you’ve basically removed the glue that holds your dough together—fat coats each flour particle and prevents excessive gluten development, which is what you need for chewy, tender cookies instead of crumbly disasters. The type of fat matters too; butter gives you flavor and a tender crumb, while shortening creates a more delicate texture, but either way, cutting corners on the amount will leave you with dough that won’t hold together no matter how much you mix. I’ll show you how to spot when fat is the culprit, which fat works best for your cookies, and the easiest fixes to rescue your next batch.
Fat’s Role In Binding
Why does fat matter so much in sugar cookie dough? Fat is your tool for holding everything together. Here’s what I’ve discovered:
- Fat coats flour particles, creating a protective barrier that tenderizes gluten and prevents stiffness
- Butter provides moisture and flavor, which helps bind dry ingredients into a cohesive dough
- Adequate fat makes dough feel soft, holding together when pressed instead of cracking apart
- Low-fat dough crumbles because there’s insufficient moisture and fat to merge ingredients properly
- The type matters—stiff fats or reduced amounts weaken binding dramatically
When I skip fat or use too little, my dough falls apart immediately. Adding the recommended amount or substituting melted butter turns that crumbly mess into smooth, workable dough. It’s the difference between frustration and success.
Butter Versus Shortening Choice
When I’m deciding between butter and shortening for my sugar cookies, I’m really choosing between two different ways to bind my dough together. Butter gives me great flavor and tenderness, but it spreads more during baking. Shortening, on the other hand, creates structure and keeps my cookies from spreading everywhere. Here’s the thing: I’ve learned that butter versus shortening isn’t about picking a winner. Instead, I combine both fats to get the best results. Using butter alone sometimes leaves my dough crumbly because it doesn’t hold ingredients together quite as firmly. When I add shortening to the mix, I get better binding without sacrificing that delicious buttery taste. The combo balances everything perfectly, giving me dough that stays together beautifully.
Correcting Insufficient Fat Content
it’s almost always a fat problem.
When you don’t have enough butter or fat, your flour proteins can’t get properly coated. This means they absorb too much water, which actually sounds helpful but creates the opposite effect—a dry, crumbly mess that won’t hold together. Fat is the ingredient doing the work here.
Here’s how to fix it:
- Add one tablespoon of melted butter at a time
- Mix thoroughly between additions
- Test the dough’s texture by squeezing it gently
- Check your original recipe’s fat measurements
- Consider using slightly more butter than shortening for flavor
If your dough still crumbles after mixing, you’ve likely underestimated how much fat you actually need. Restoring that binding power will improve your results.
Egg Size and Its Impact on Moisture and Structure
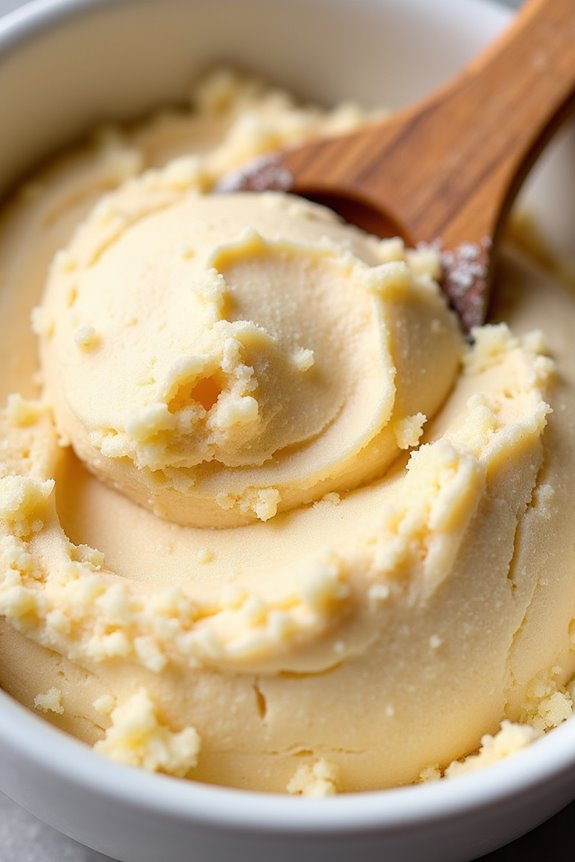
Have you ever grabbed an egg from your carriage without checking its size, only to end up with dough that crumbles like desert sand? I’ve been there, and here’s what I learned: egg size matters more than you’d think.
Large eggs contribute significantly more liquid and fat than smaller ones, directly affecting your dough’s moisture and structure. When you use a smaller egg than your recipe calls for, you’re short on binding power. The result? Crumbly, falling-apart dough that frustrates everyone in the kitchen.
Here’s my fix: use the exact egg size your recipe specifies. If you’re unsure, grab a large one—it’s the standard assumption. Alternatively, if your dough’s already too dry, add beaten egg one teaspoon at a time until it comes together properly.
Room Temperature Ingredients Prevent Over-Mixing
One of the easiest fixes for crumbly dough is sitting right in your fridge—you just need to let your ingredients warm up first. When I use room temperature ingredients, I’m actually preventing myself from over-mixing, which is a major culprit behind dry, crumbly cookies.
Here’s why this matters:
- Soft fats blend smoothly with sugar without requiring extra mixing
- Room temperature eggs incorporate evenly, preventing dry pockets
- Warm milk distributes moisture uniformly throughout the dough
- Chilled ingredients force you to mix harder and longer
- Proper temperatures mean you’re done mixing in half the time
I’ve learned that when butter, eggs, and milk are cold, they resist combining smoothly. I end up mixing longer to get them incorporated, which overworks the dough and traps unwanted air. Letting everything sit out for 30 minutes changes everything—your dough comes together easily, stays cohesive, and actually tastes better.
Rest Your Dough Wrapped in Plastic Overnight
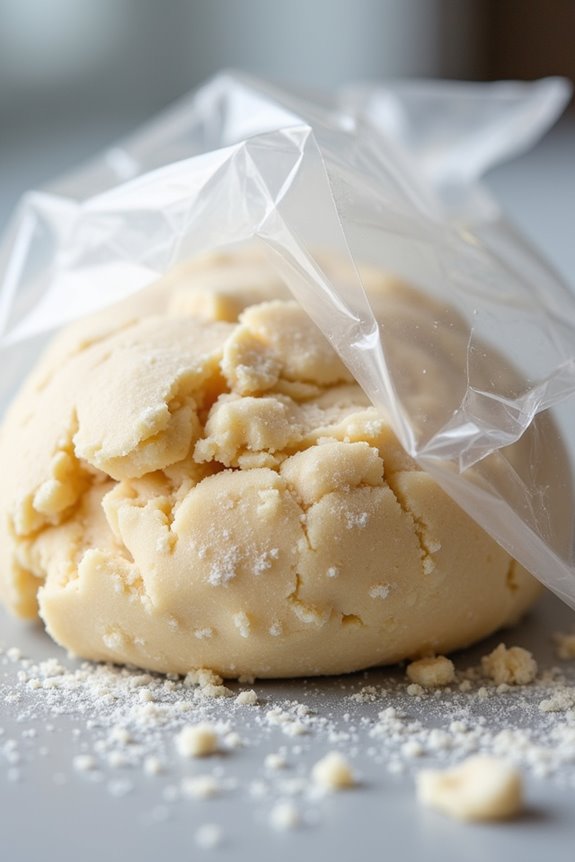
Want to know what transforms crumbly dough into something smooth and workable? Resting dough wrapped in plastic wrap overnight does the job. This simple step lets moisture redistribute throughout your mixture, improving cohesion. Your fats solidify during chilling, preventing excessive spreading and creating dough that’s actually enjoyable to work with the next day.
| Benefit | What Happens | Result |
|---|---|---|
| Moisture Redistribution | Water spreads evenly | Less crumbly texture |
| Fat Solidification | Butter firms up | Better dough workability |
| Gluten Relaxation | Tension decreases | Smoother, uniform cookies |
| Flour Hydration | Dry pockets absorb liquid | Improved cohesion |
| Easier Handling | Dough becomes pliable | Cleaner shapes when baking |
The plastic wrap keeps everything contained while flour fully hydrates. Next morning, you’ll find your dough is easier to scoop, roll, and shape—yielding more uniform, beautiful cookies.
Kitchen Humidity and Temperature Effects
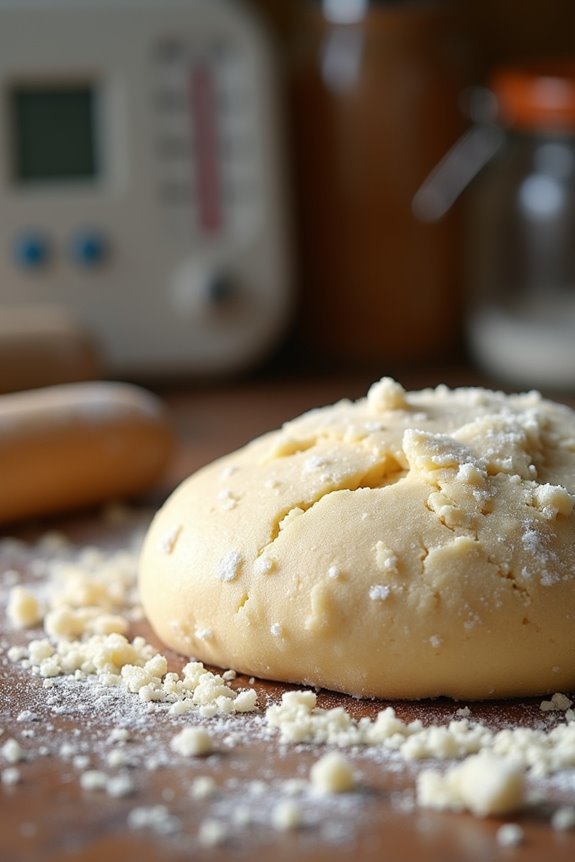
Your kitchen’s humidity and temperature are silent characters in your baking story, and I’ve learned they can make or break your sugar cookie dough. If you’re working in a dry environment, your flour’s soaking up moisture from the dough itself, leaving you with crumbles, but a humid kitchen actually helps your dough stay cohesive and moist. Here’s the strategy: aim for a cool room (around 65-70°F) with moderate humidity when mixing and chilling your dough, and if your kitchen feels like a desert, try covering your work surface or running a humidifier nearby.
Humidity’s Impact On Dough
Ever notice how your sugar cookie dough feels totally different depending on the season or time of day?
Humidity plays a significant role in your dough’s texture. When moisture levels rise, your dough stays softer and more cohesive. In dry climates or winter months, flour absorbs extra moisture from your ingredients faster, leaving you with crumbly dough that won’t stick together.
Here’s what’s happening in your kitchen:
- Higher humidity keeps dough softer and more workable
- Low humidity makes flour extra absorbent, drying out your mixture
- Warm, humid air can soften fats and weaken gluten structure
- Drafts and air conditioning speed up moisture loss rapidly
- Resting dough in a stable, slightly humid space helps it stay together
Monitor your room conditions closely. You’re not alone in battling this seasonal struggle—it happens to everyone.
Temperature Control Strategies
Beyond the air around your dough, the actual temperature of your kitchen—and your oven—makes a substantial difference in whether your cookies end up crumbly or perfectly cohesive. I’ve learned this the hard way.
Your oven temperature is critical. If it runs hotter than the dial suggests, your cookies’ surfaces over-dry while centers stay underbaked and crumbly. Grab a digital thermometer and check your oven’s true temperature—this affects humidity management and consistent results.
Kitchen temperature matters too. Warm, dry environments evaporate moisture from your dough during mixing and resting. Keep your kitchen cool when possible, and consider chilling your dough before baking. Cooler dough retains moisture better, spreads less, and bakes more evenly.
These small adjustments? They’re what separate crumbly disaster from quality cookies.
Measure Ingredients Precisely With a Kitchen Scale
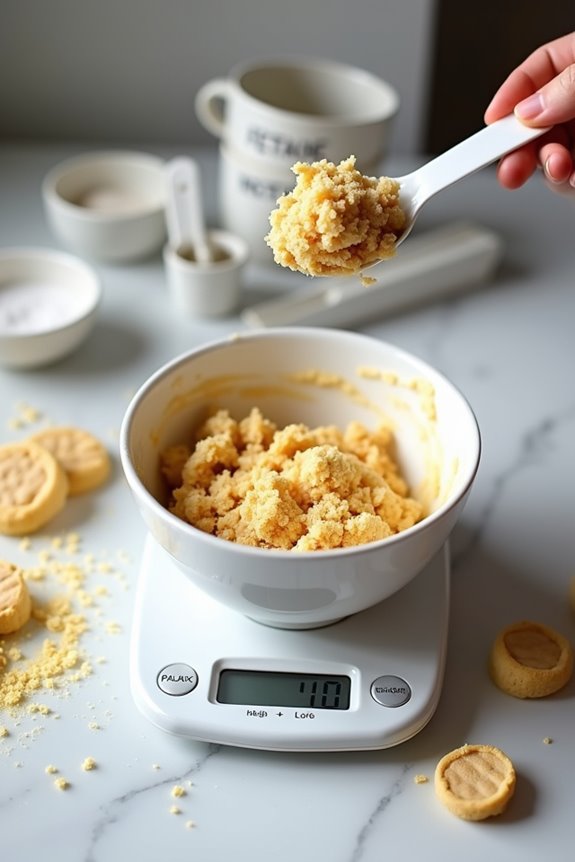
One of the biggest culprits behind crumbly sugar cookie dough? Inaccurate measurements. I’ve been there—scooping flour straight from the bag, compacting it without realizing, then wondering why my dough falls apart. A kitchen scale changes everything.
Here’s what I do now:
- Weigh flour at 120–130 grams per cup to eliminate overpacking
- Measure both dry and wet ingredients by weight for consistent ratios
- Tare my scale between each addition to track individual ingredient weights
- Record target weights (flour 180–190g, sugar 70–90g) for reproducible batches
- Calibrate regularly to maintain accuracy
When you weigh ingredients instead of guessing with cups, your flour-to-liquid balance stays perfect. No more dry, crumbly disappointments. This one shift improved my cookie results completely.
Chill Dough Before Baking for Better Results
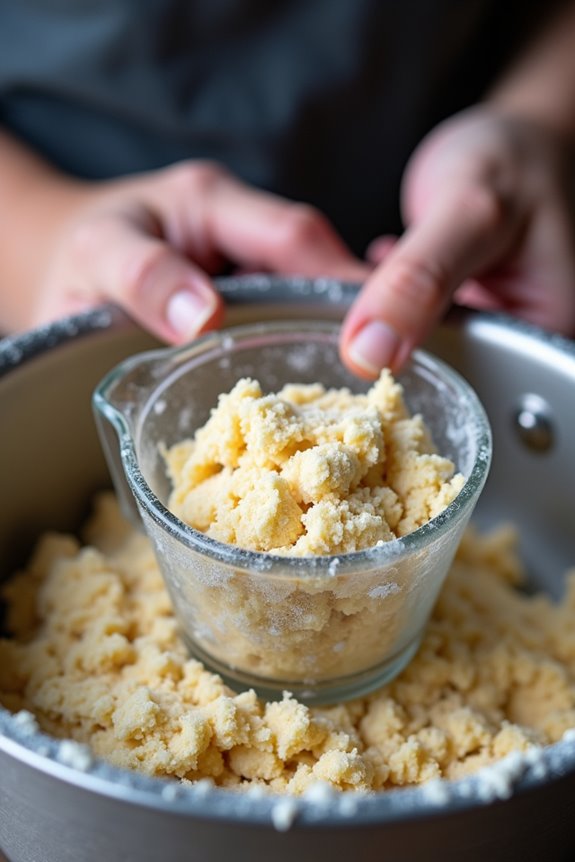
I’ve found that chilling your dough is one of the best fixes for crumbly texture, and here’s why: cold dough firms up the fat and relaxes the gluten, so it holds together better when you roll and shape it. I usually give my dough at least 30 minutes in the fridge to improve how it handles, but if you want better flavor and texture, I’ll wait a full 60 minutes while the ingredients really meld together. The key is working with small portions at a time and keeping everything cold throughout the process, which prevents that frustrating cracking and spreading that happens when dough gets too warm.
Temperature Control Matters
Temperature’s actually your covert tool against crumbly sugar cookie dough, and it’s way simpler than you’d think. When dough sits at room temperature too long, the fats warm up and spread everywhere, leaving you with a crumbly mess. Here’s what I’ve learned works:
- Keep your fridge at 35-40°F for optimal dough firming
- Chill dough for at least 30 minutes before rolling or scooping
- Let moisture distribute through the flour during rest, improving cohesiveness
- Handle chilled dough on cookie sheets for uniform shapes
- Pop warm dough back in the fridge for 15-30 minutes if it’s spreading too much
During that chill time, your flour fully hydrates, fats solidify, and everything holds together beautifully instead of crumbling apart.
Rest Time Enhances Texture
Now that you’ve got your temperature dialed in, let’s talk about what happens during that chill time—because it’s doing way more than just making your dough easier to handle.
When I let my dough rest in the fridge for 30 minutes to an hour, the flour particles fully absorb moisture, which makes crumbly dough into something cohesive and workable. The cold also firms up the fat, so your cookies hold their shape instead of spreading into pancakes during baking.
| What Happens | Time | Result |
|---|---|---|
| Moisture hydration | 15 mins | Dough begins binding |
| Fat firming | 30-45 mins | Better shape retention |
| Flavor melding | 1 hour | Enhanced taste |
Cold dough rolls and cuts cleanly without extra flour, which would otherwise dry everything out further. This rest time is your working advantage.
Baking at High Altitude? Adjust Liquid and Flour
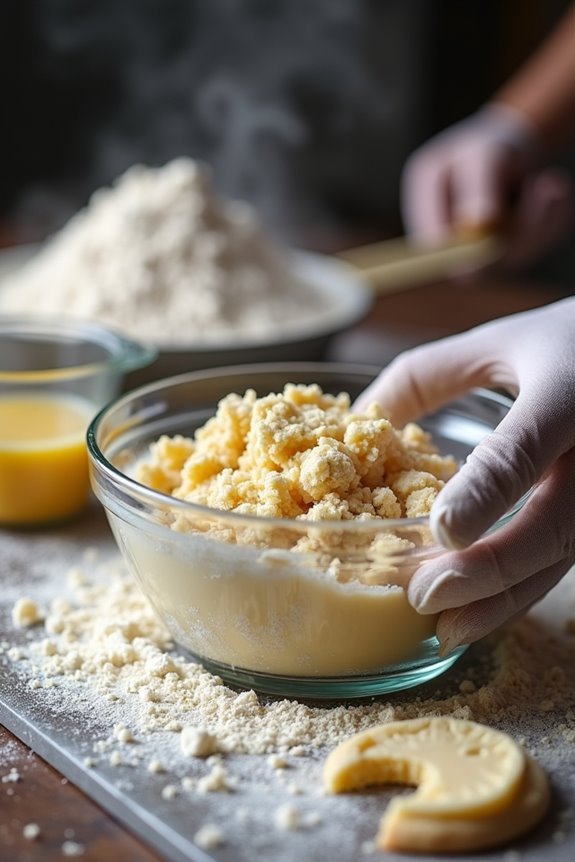
Why does high-altitude baking seem to mess with everything? The truth is, lower air pressure and faster evaporation are working against you, making dough crumbly and frustrating. I’ve learned that adjusting your liquid and flour ratio is essential up here.
Here’s what I do:
- Add 1–2 teaspoons of liquid per cup of flour
- Reduce flour slightly to maintain proper moisture balance
- Include an extra egg yolk or 1–2 tablespoons of water or milk
- Incorporate melted butter for improved moisture retention
- Rest dough 30–60 minutes to let flour fully hydrate
These tweaks will improve dry, crumbly dough into something workable. I’ve found that experimenting with small adjustments helps you dial in what works for your specific altitude and kitchen.
From Crumbly Dough to Perfect Cookies: Your Baking Checklist
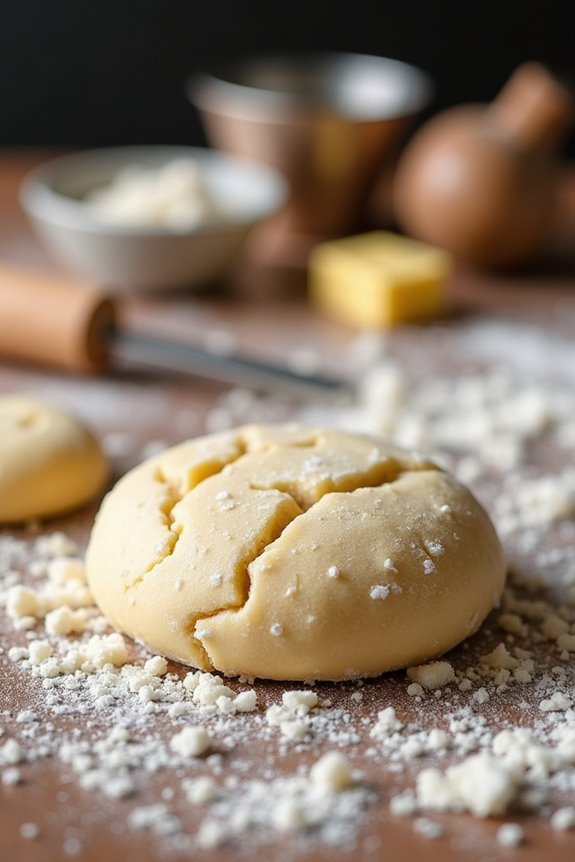
So you’ve got crumbly dough on your hands—let me walk you through my checklist that’ll improve your baking results.
First, I measure my flour using the scoop-and-level method to avoid packing in too much. Next, I check if my dough needs more liquid. I add water or milk one to two tablespoons at a time, mixing gently until it comes together. I make sure I’m not overmixing, since that dries things out fast.
Then I verify I’ve got enough fat and liquids in my recipe—they’re important for good cookies. Finally, I wrap my dough in plastic and let it rest. This resting time improves texture and moisture. Follow these steps, and you’ll achieve perfect sugar cookies every single time.